
The complete guide
How to Choose and Set Up a 2x2 Grow Tent
The problem with growing in an open room
Most people start indoor growing on a shelf by a window or under a lamp in the corner. It works, for a while. Then the issues turn up. Plants lean hard toward the brightest side. Light spills across the whole room at night. Watering leaves rings on the floor. Air sits still around the leaves, which is exactly the condition mold likes. And if you share the house with anyone, a glowing purple lamp in the living room gets old fast.
A grow tent solves those problems by making the growing area a separate box. The walls hold light in and keep it off the rest of the room. The frame gives you somewhere proper to hang gear. The floor catches mess. You are no longer trying to control a whole room, only a volume you can measure. That change alone makes results more consistent.
Why 2x2 is a sensible starting size
A 24 by 24 by 48 inch tent has a small footprint and enough height to be useful. It fits inside a standard wardrobe, in a laundry corner, against a garage wall or in an alcove. The chamber volume is listed at 42442 cubic centimeters, which is a modest amount of air to manage.
That small volume is a genuine advantage when you are learning. Less air means your fan does not need to be powerful. Less floor area means one light covers everything. Fewer plants means fewer things to go wrong at once, and when something does go wrong, you can see it quickly. A compact indoor grow tent teaches you the basics of light distance, watering rhythm and humidity without a big investment in equipment.
The trade-off is obvious. Two feet square will not hold a large harvest, and tall plants will need training or topping to stay under the light. If you already know you want volume, look at a 4x4. If you want to find out whether indoor growing suits you, or you need a dedicated propagation space, 2x2 is the right call.
What the materials actually do
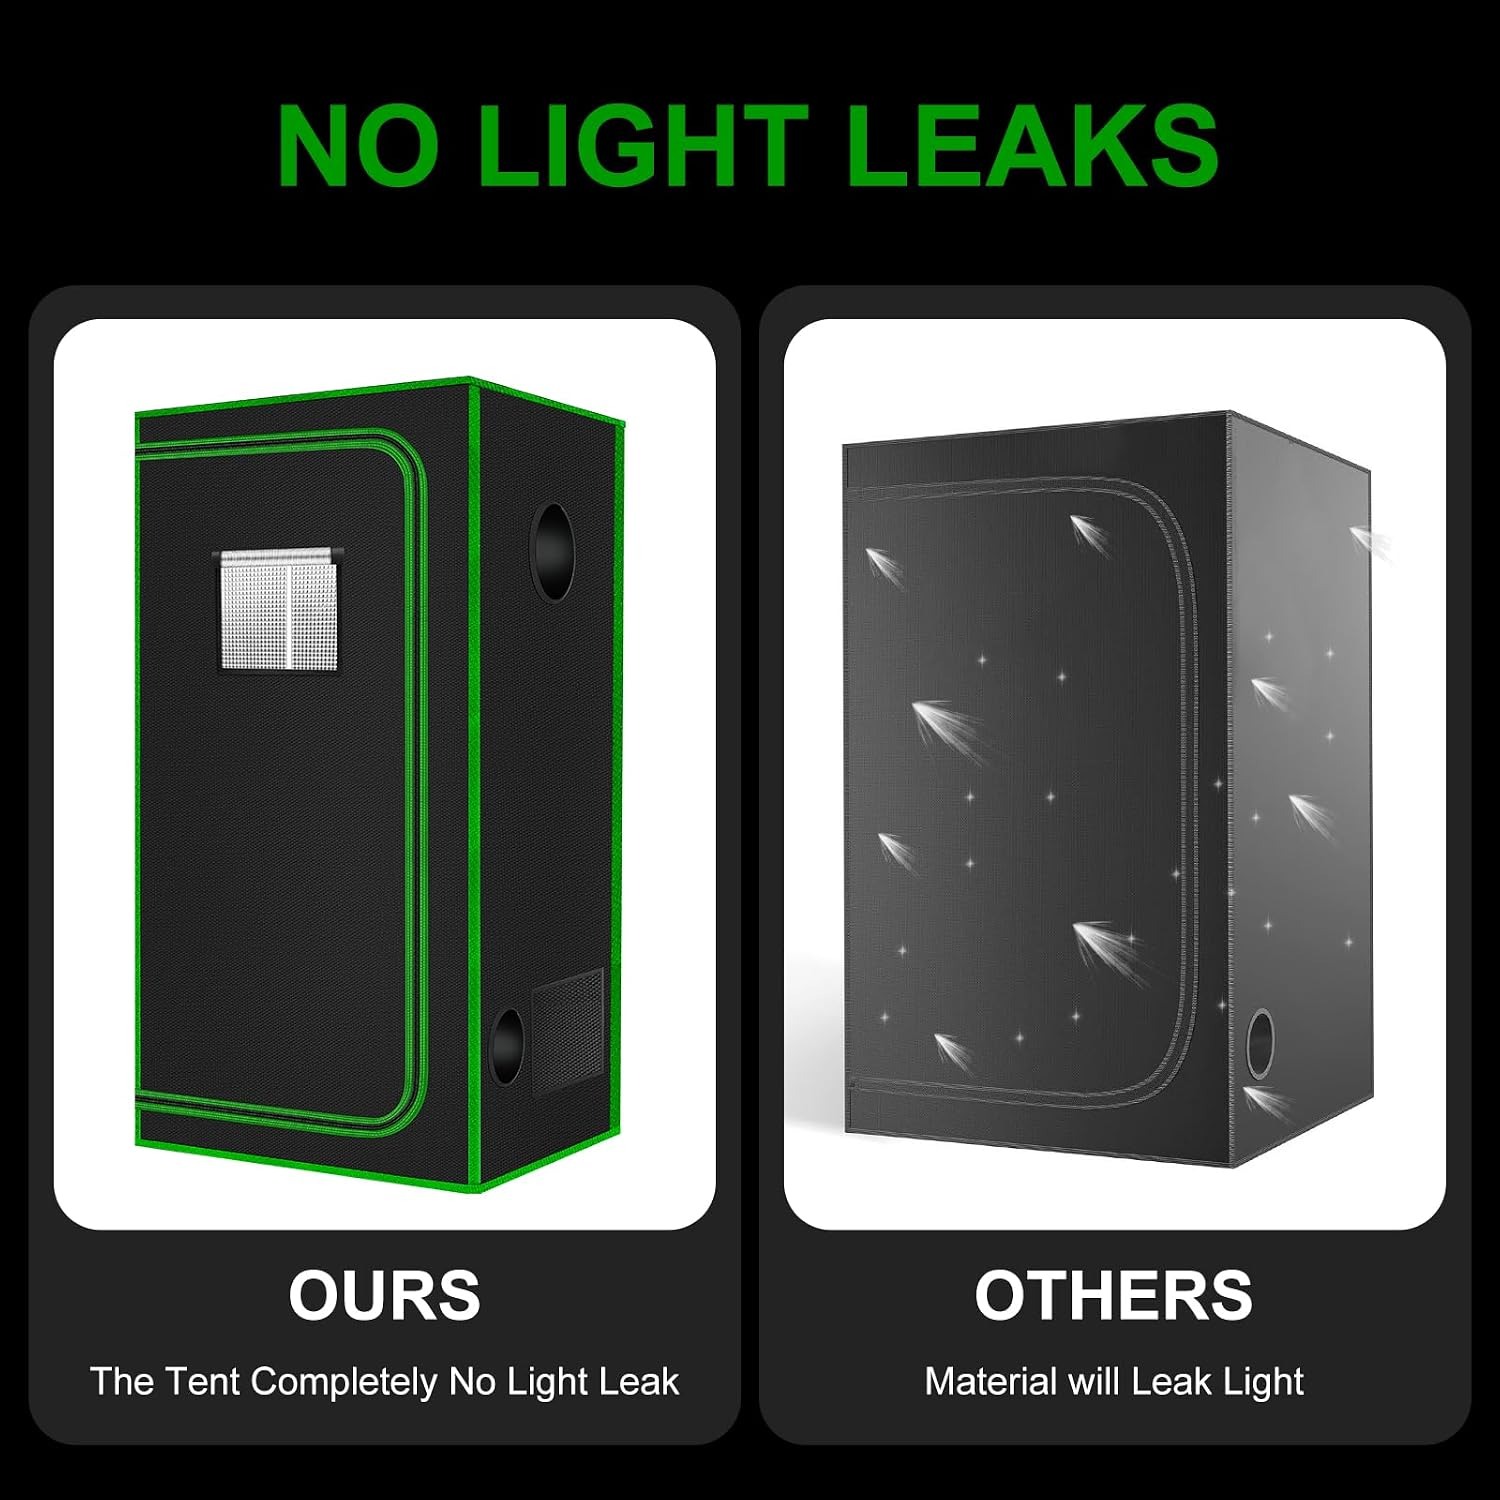
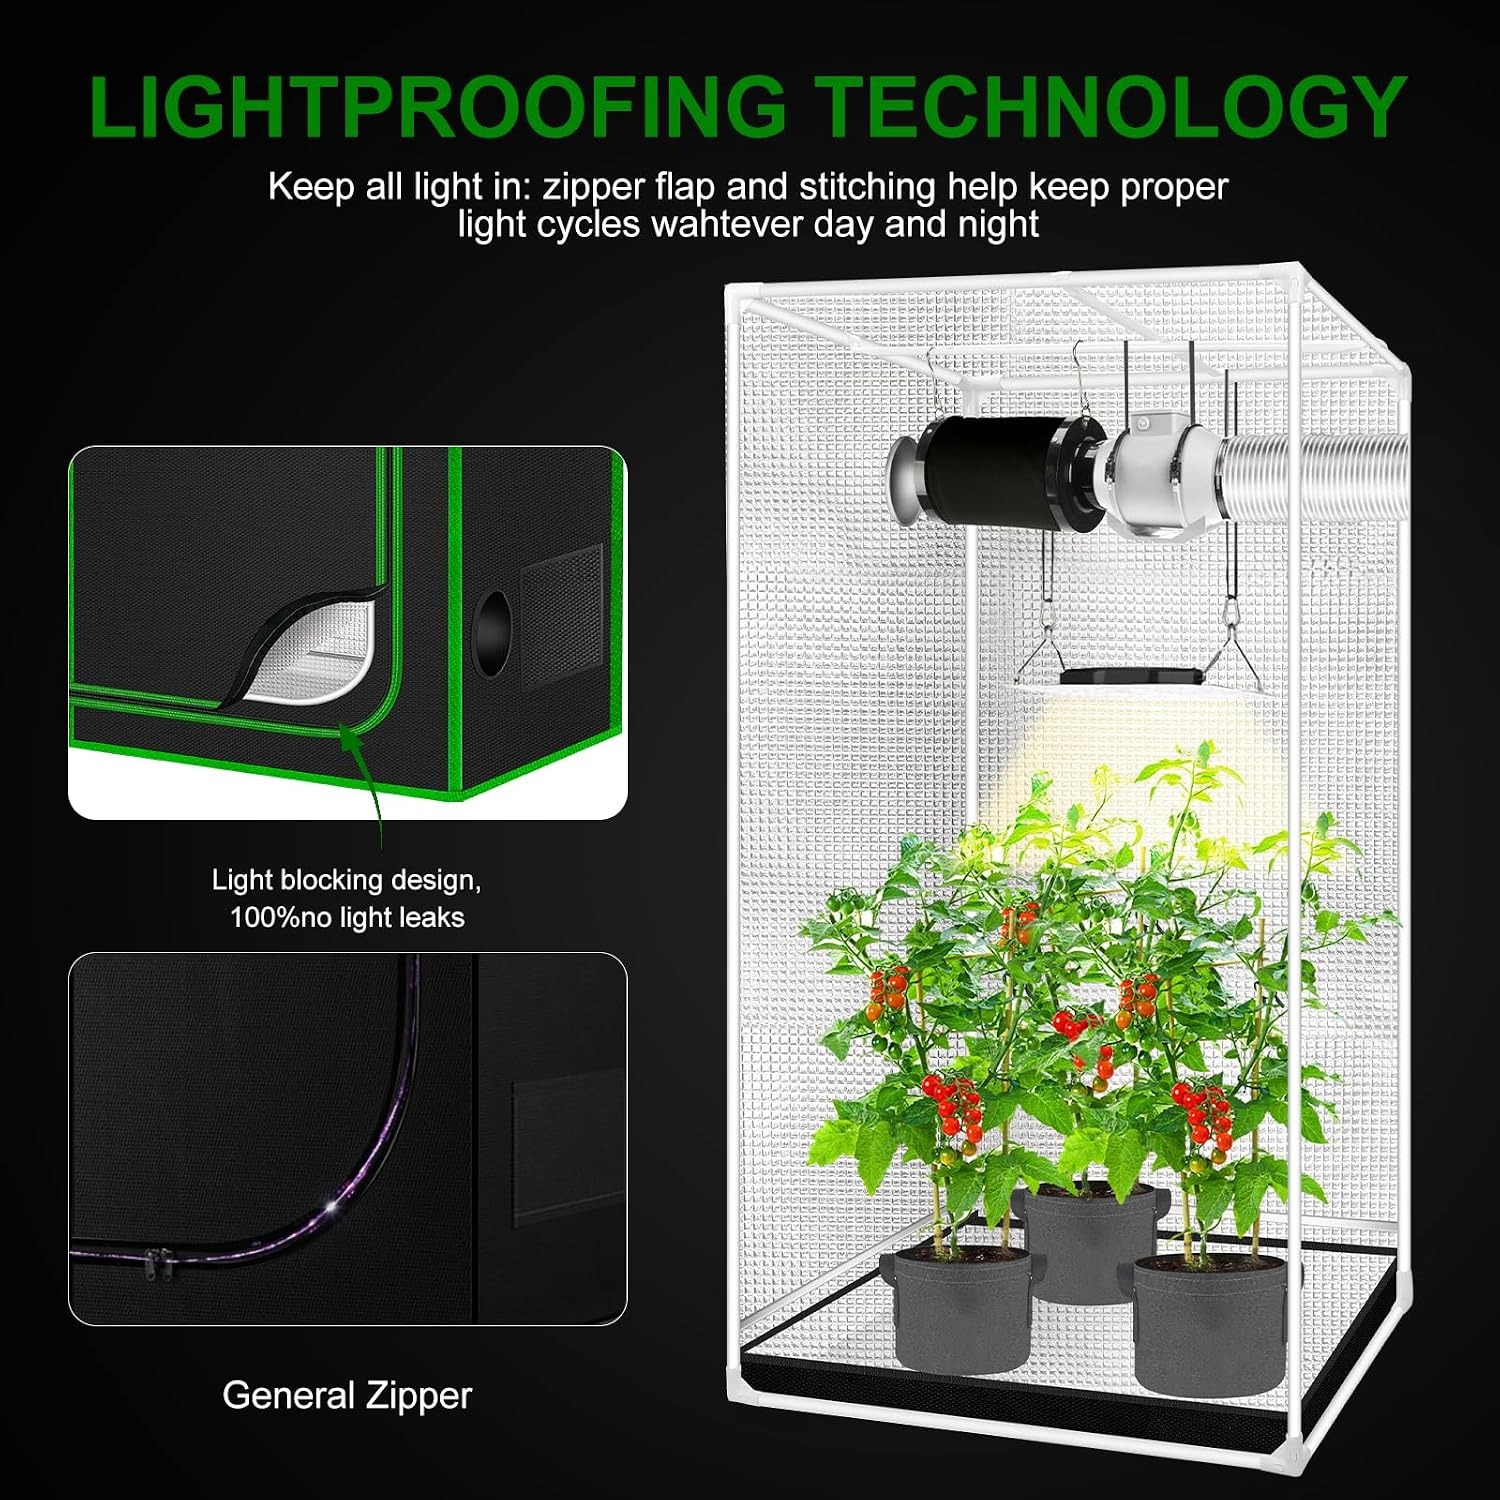
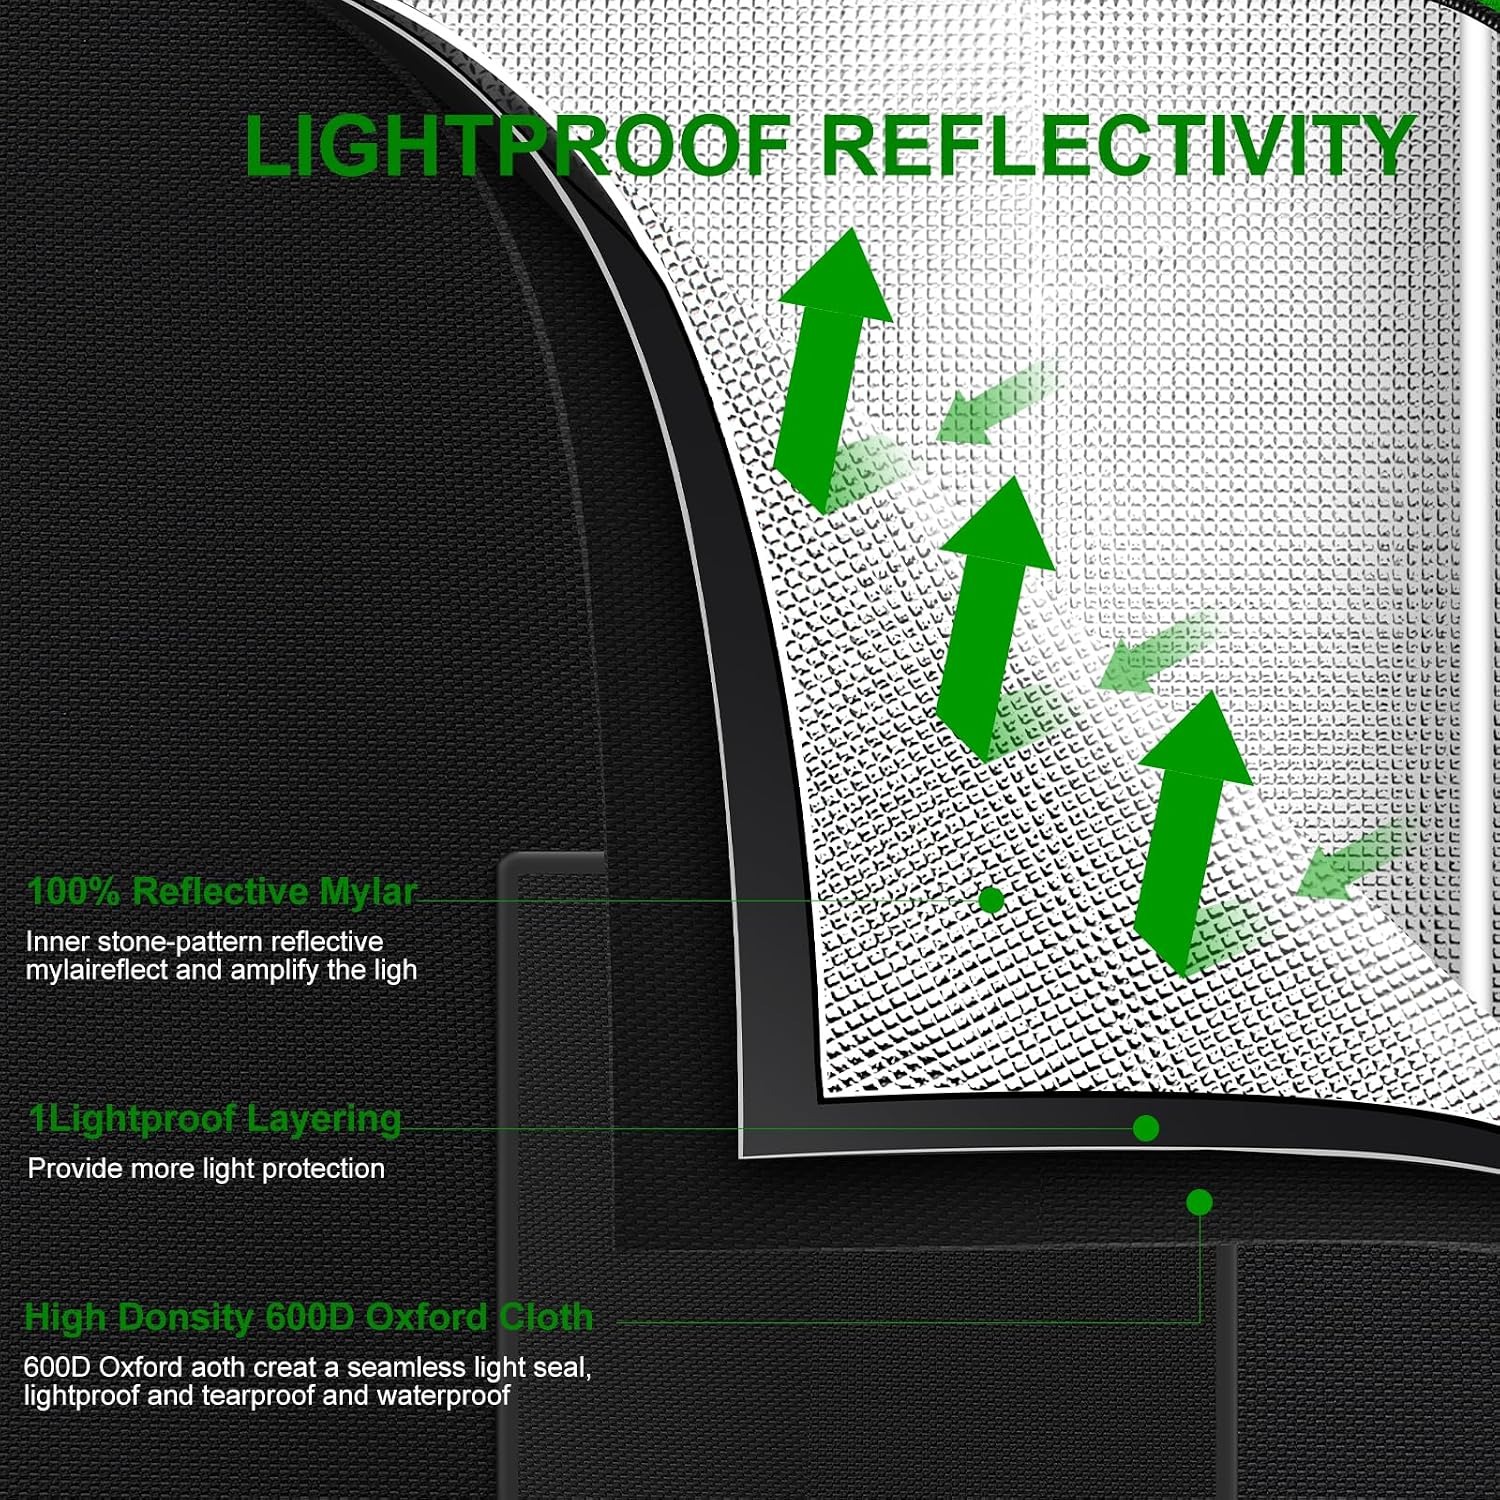
The outer shell on this tent is oxford cloth, described by the supplier as 600D with double stitching. The "D" figure refers to how thick the yarn is. Heavier fabric resists tearing, holds its shape on the frame and does not let light bleed through the weave. Double stitching matters at the seams, because seams are where light escapes first on a cheap tent.
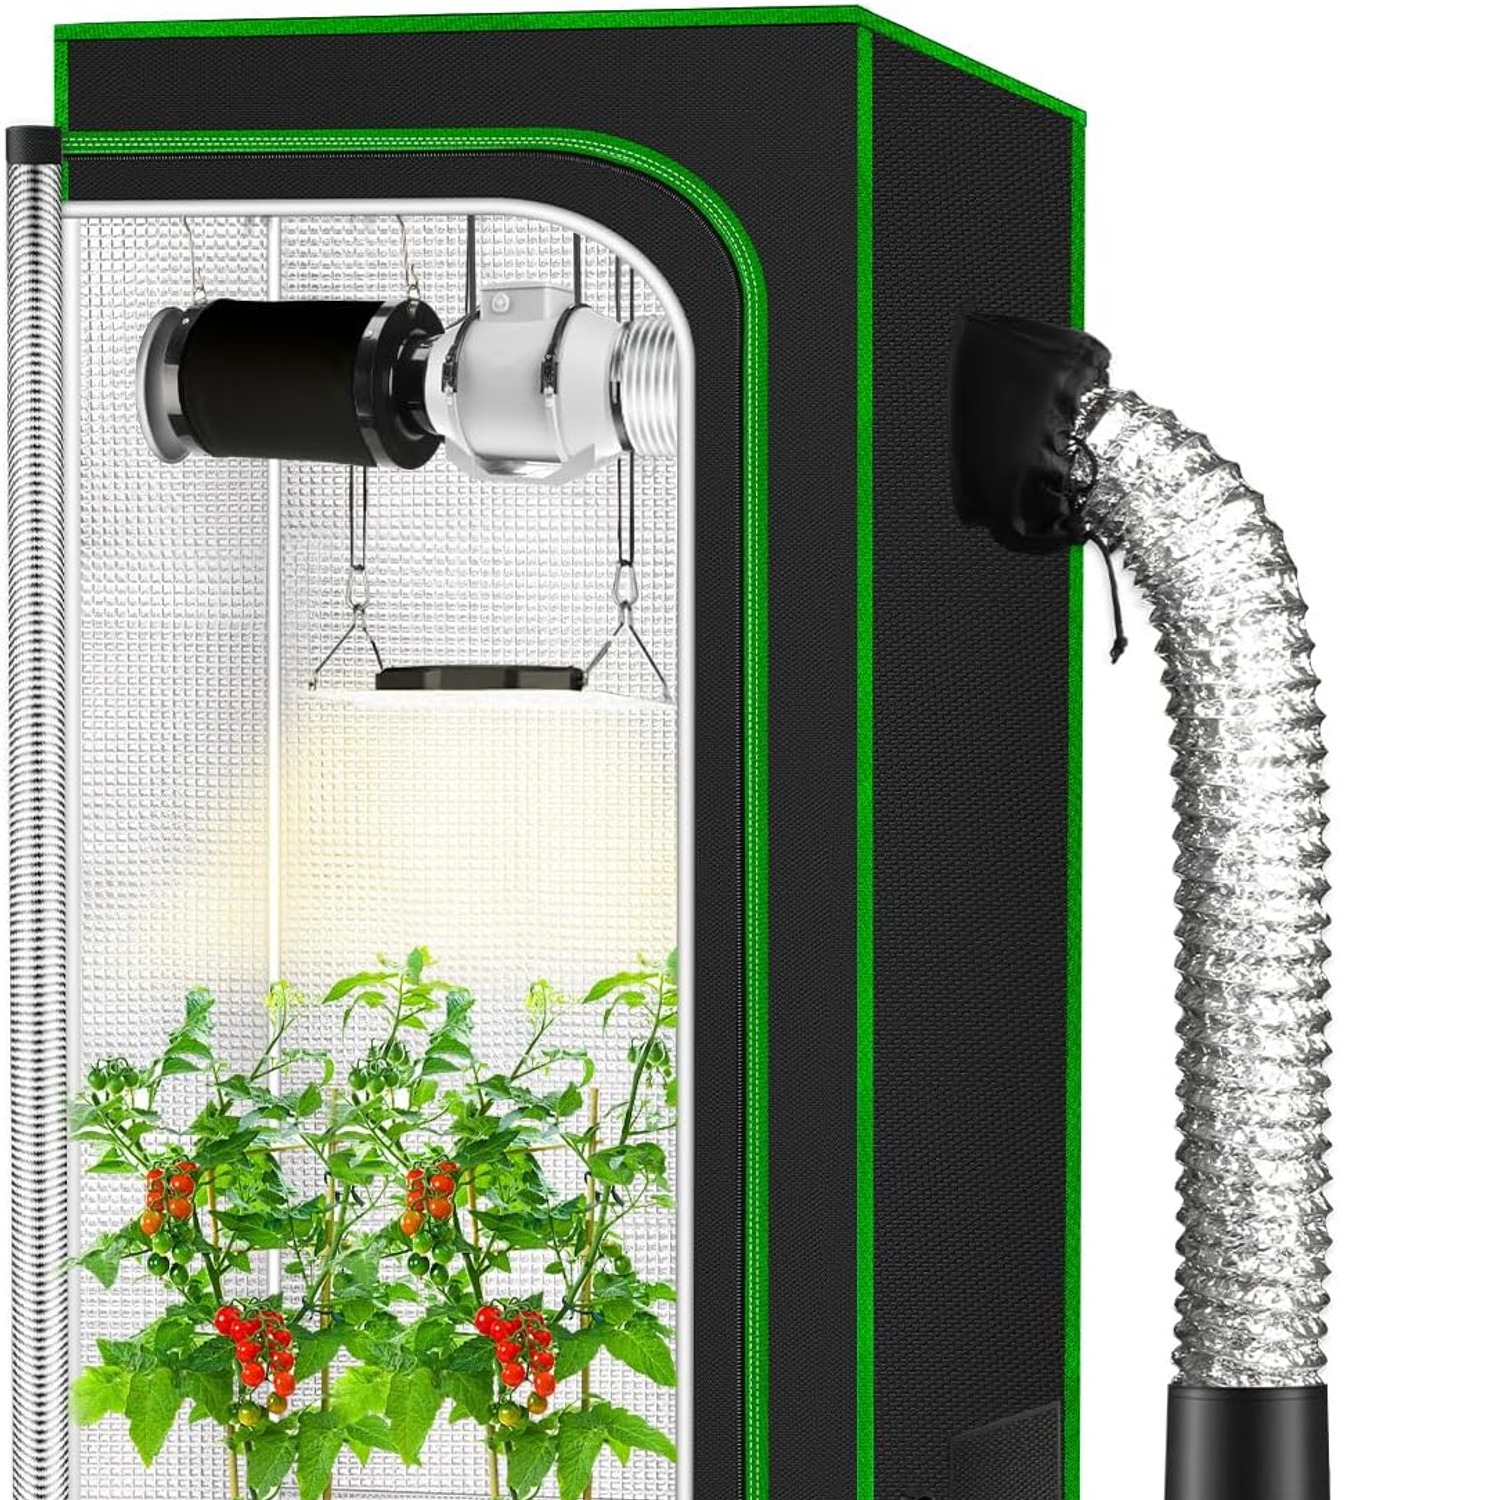
The inner lining is PET reflective film. In a space this narrow, the lining does a lot of work. Your plants sit within a foot of a wall on every side, so light that misses the canopy hits a reflective surface and comes back. A reflective mylar grow tent effectively increases the useful output of whatever lamp you hang, particularly for the lower and outer leaves that would otherwise sit in shade.
The frame is metal, which is the part people forget to check. Plastic connectors and thin poles start to sag once you hang a light and a fan from them. Steel poles stay straight. For a tent this size you are unlikely to be anywhere near the limit, but it still pays to spread weight across more than one bar.
The features you will use every day
Three things on this tent affect daily routine more than the spec sheet suggests.
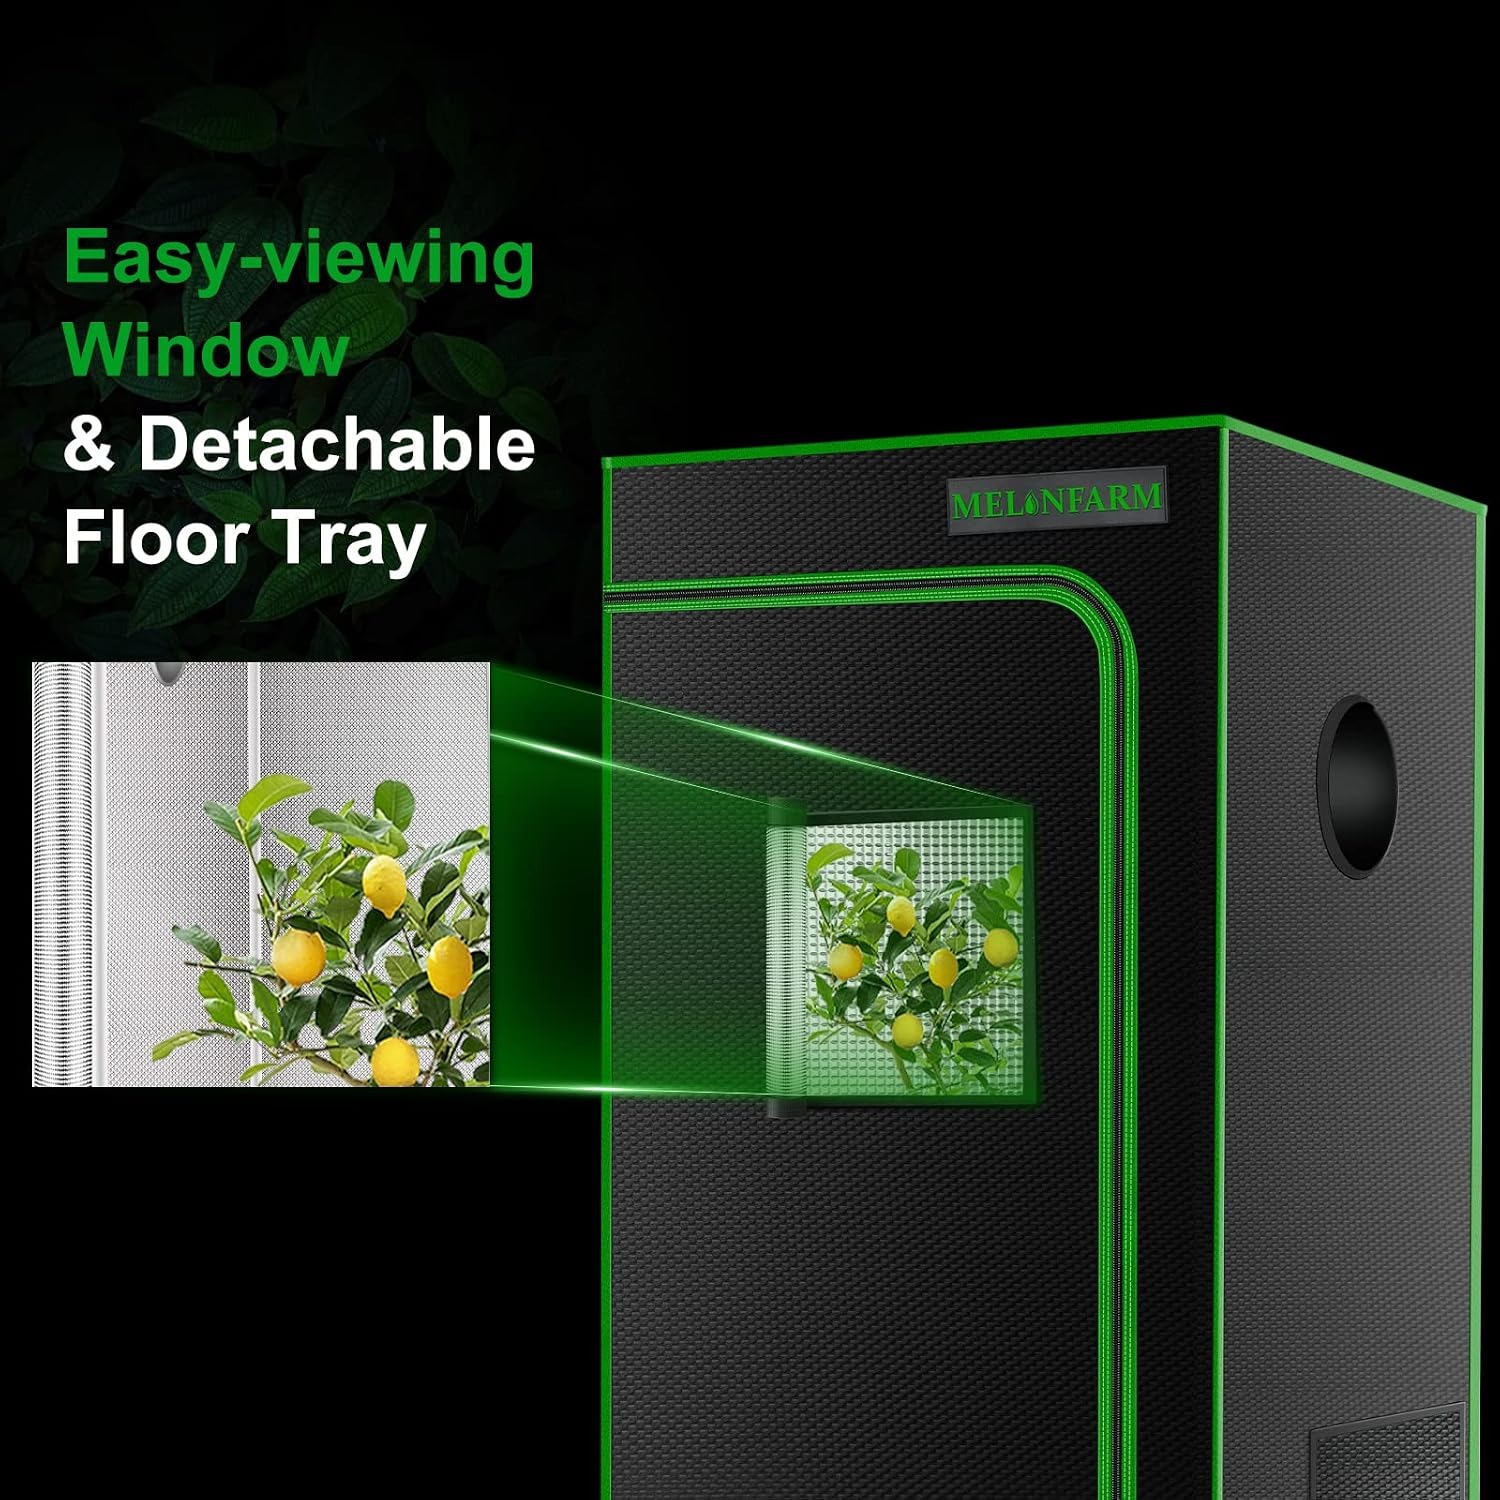
The first is the pair of clear observation windows. Being able to look in without opening the door sounds minor until you are running a strict light schedule or holding humidity steady for cuttings. A quick glance tells you if leaves are drooping or if something has tipped over, and the inside conditions stay undisturbed.
The second is the removable floor tray. Soil, water and the odd dropped leaf all end up at the bottom of a tent. A tray you can slide out and rinse under a tap turns clean-up into a short job instead of a careful mopping exercise inside a dark box.
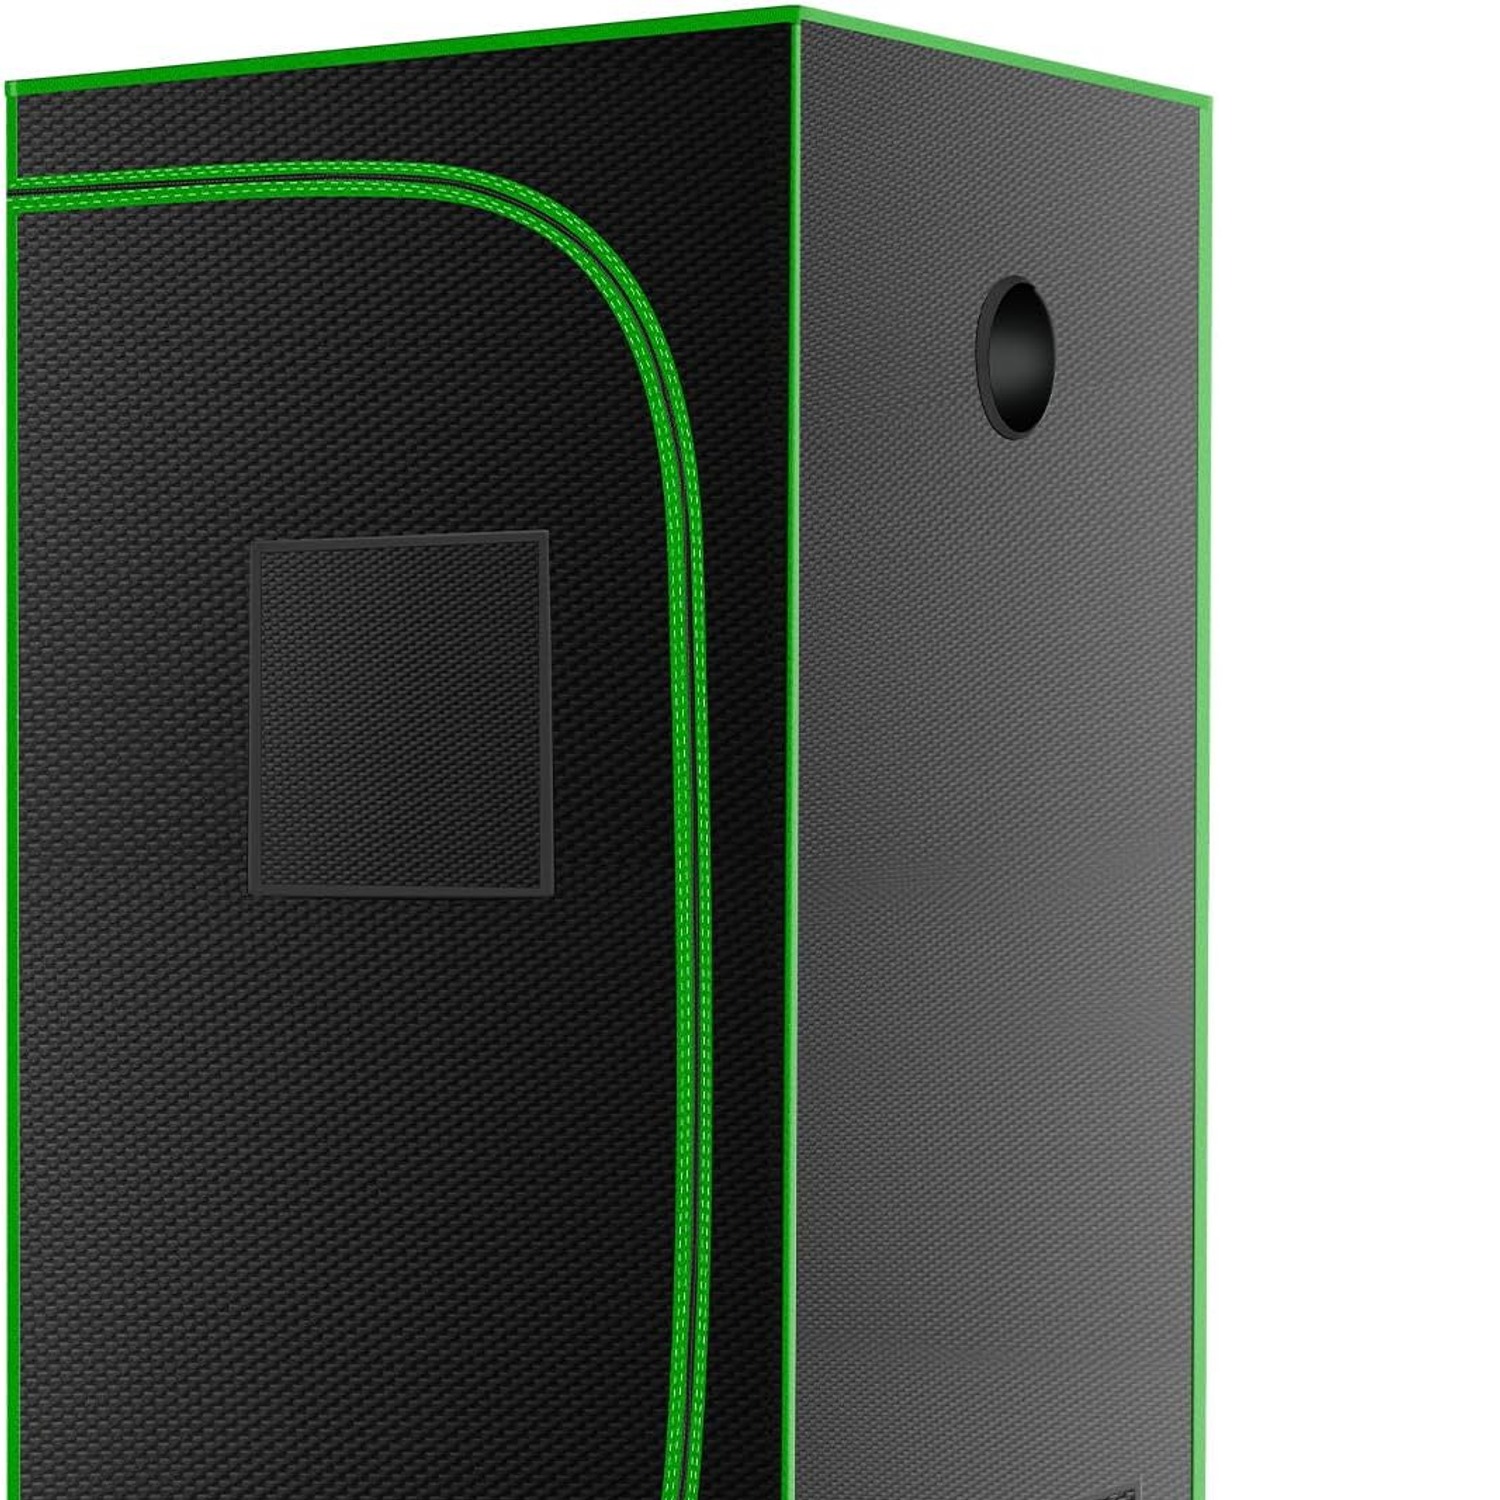
The third is the storage pocket. Timers, spare clips, a thermometer, pH strips, scissors: these small items vanish if they do not have a home. A pocket on the tent wall keeps them with the tent.
The heavy-duty zipper door and the bottom cooling vent round it out. A wide zip means you can carry a plant in and out without stripping leaves on the frame, and the low vent helps warm air move through rather than sitting at the top.
Setting it up without the headache
Clear the floor first and lay all the parts out. Count poles and connectors against the parts list before you start. Build the base rectangle, add the four uprights, then join the top. The frame is light enough to turn and reposition at this stage.
Pulling the canvas over the finished frame is the awkward part. Start at one top corner, work the cover over the other three, then pull it down evenly. If you have someone to hold the opposite side, it takes half the time. Zip the door closed and check the frame is square before you hang anything.
Once it is standing, set up the gear in this order. Hang the light from the top bars using adjustable hangers so you can raise it later. Add a clip fan low down for air movement across the leaves. Fit your extraction fan and ducting if you are using one, and cinch every port you are not using. Last, put the tray in and set the pots on top.
Finally, close everything and stand in the dark for a minute. Any pinhole of light is easy to find this way, and a strip of tape fixes it.
Air, heat and humidity in a small space
The smaller the tent, the faster conditions change. A light that runs warm will lift the temperature inside a 2x2 within an hour, and watering four pots can push humidity up noticeably. That is not a flaw, it just means you should watch the numbers for the first week.
Put a cheap combined thermometer and hygrometer inside at canopy height where you can read it through the window. Aim for steady rather than perfect. Use the bottom vent and an extraction fan to move warm air out, and let cooler room air in through a passive intake. A small oscillating clip fan keeps the leaves moving, which strengthens stems and makes fungal problems far less likely.
If the tent sits in a hot room, drop the light intensity or run it at night. If the room is cold, the tent will hold some warmth from the lamp, but a heat mat under seedlings is a better fix than heating the whole room.
Looking after the tent
Treat the lining gently. Wipe spills with a soft damp cloth and dry it before you zip the tent shut. Skip bleach and solvent cleaners, because they can dull or strip the reflective surface.
Pull the floor tray out at the end of every cycle and wash it properly. Run the zips slowly and brush grit out of the teeth, since a jammed zip is the most common failure point on any tent. Between grows, wipe the inside down, dry everything thoroughly, then fold the canvas loosely and store the poles with it. Folding a damp tent is how you end up with mildew spots that never fully disappear.
The short version
This MELONFARM tent is a 24.41 by 24.41 by 40.84 inch enclosure in black oxford cloth, lined with reflective PET film, on a metal frame that assembles without tools. It weighs 10.4 lb and includes double observation windows, a heavy zip door, a storage pocket, a bottom cooling vent and a removable floor tray.
It suits seedlings, cuttings, herbs, salad leaves and one or two compact plants, in a closet, basement, garage or covered balcony. You supply the light and the fan. If you want a controlled growing space without giving up a room, a 2x2 grow tent 24x24x48 is about the most practical place to begin.