
The complete guide
Seed Starter Trays, A Practical Buyer's Guide
The problem with scattering seed and hoping
Most people start the same way. A punnet of old compost, a yoghurt pot with a hole poked in the bottom, a windowsill, and a handful of seed. Some of it comes up. A lot of it does not, and you never really know why.
The reasons are usually boring and fixable. The mix dried out while you were at work. The pot was too deep and stayed cold and wet at the bottom. The seeds went in at different depths because you pressed them in with your thumb. Three containers of different sizes dried at three different speeds, so one bolted, one sulked and one rotted.
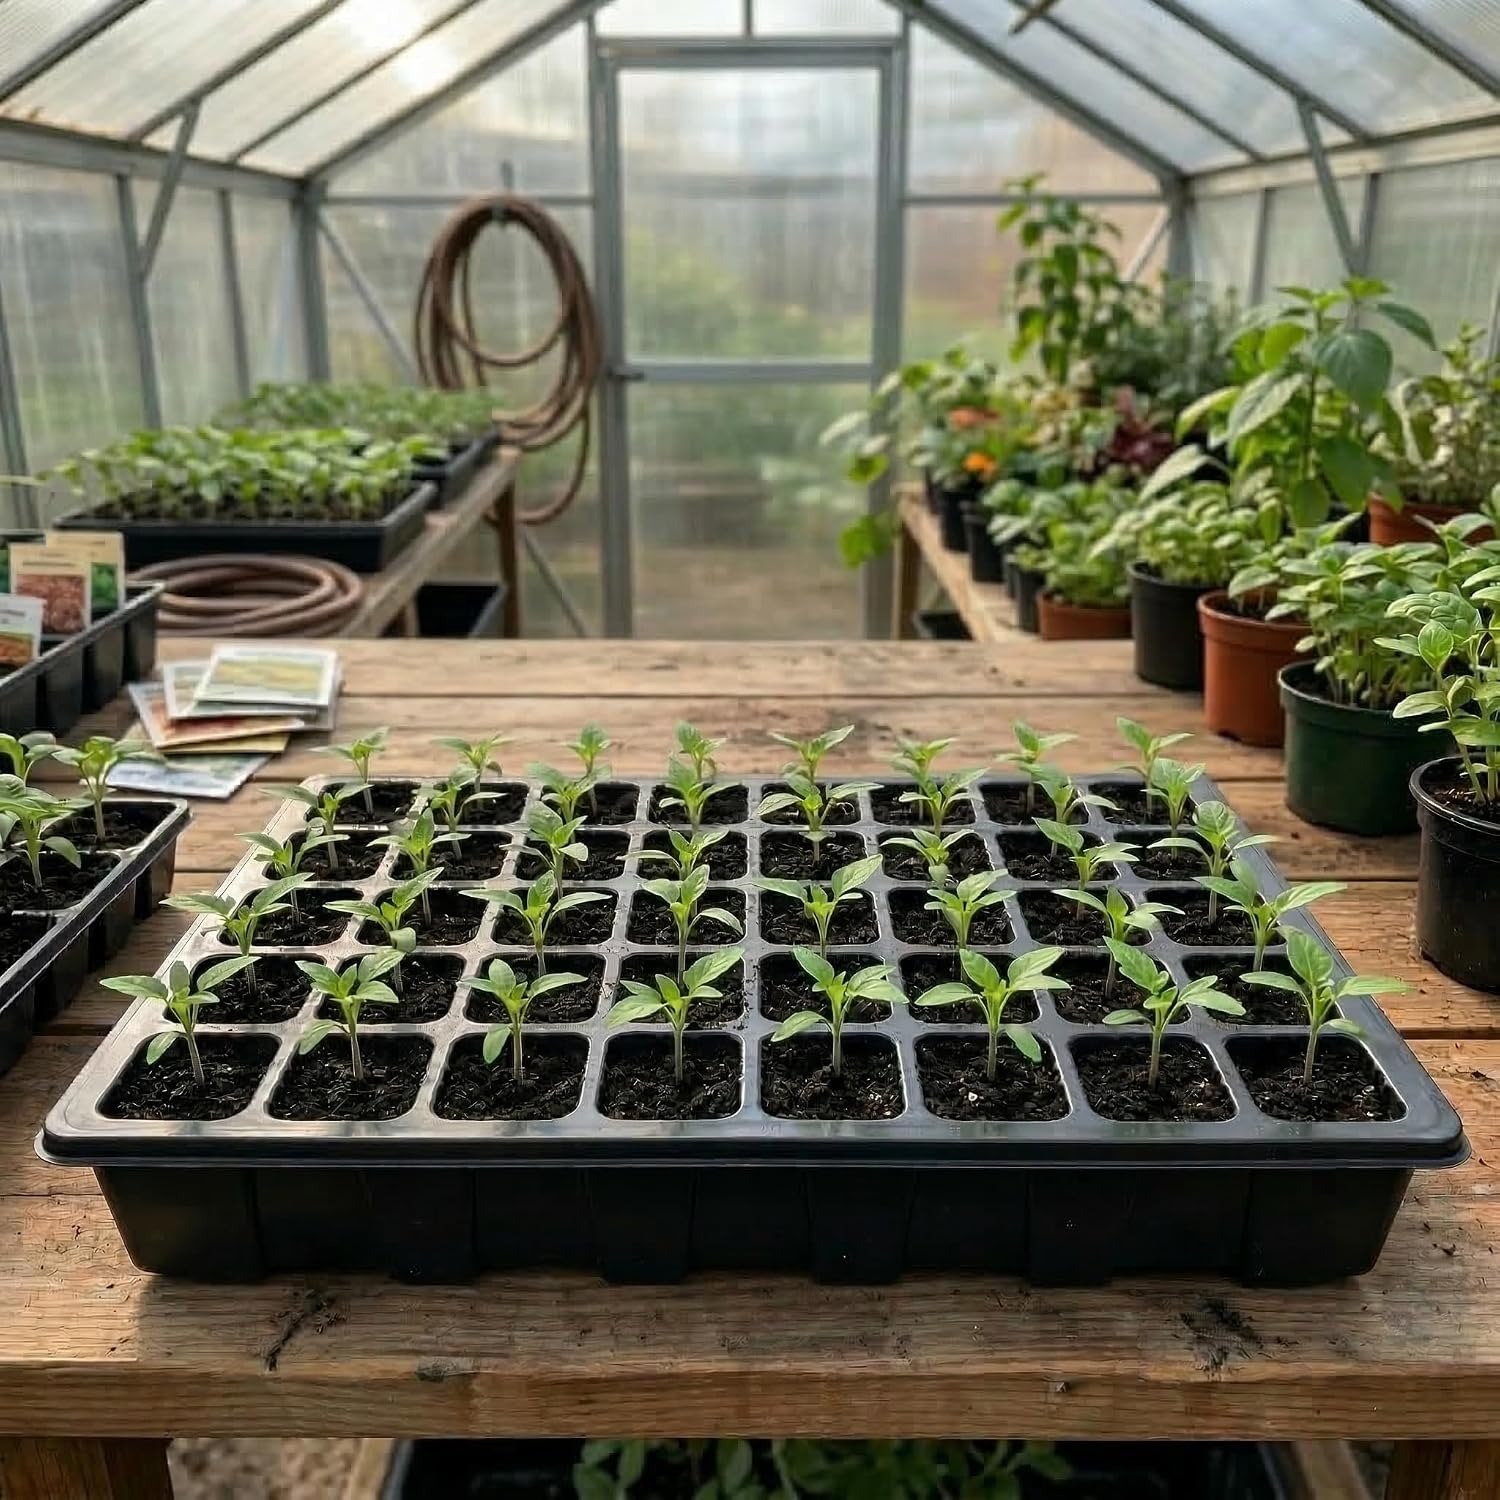
A cell tray takes most of those variables away. Every cell is the same volume, so they dry at the same rate. Every seed goes in at the same depth because the cells are shallow and uniform. Water once and all 40 get the same drink. That consistency is why nurseries use cell trays and not a pile of mismatched pots.
What this kit actually is
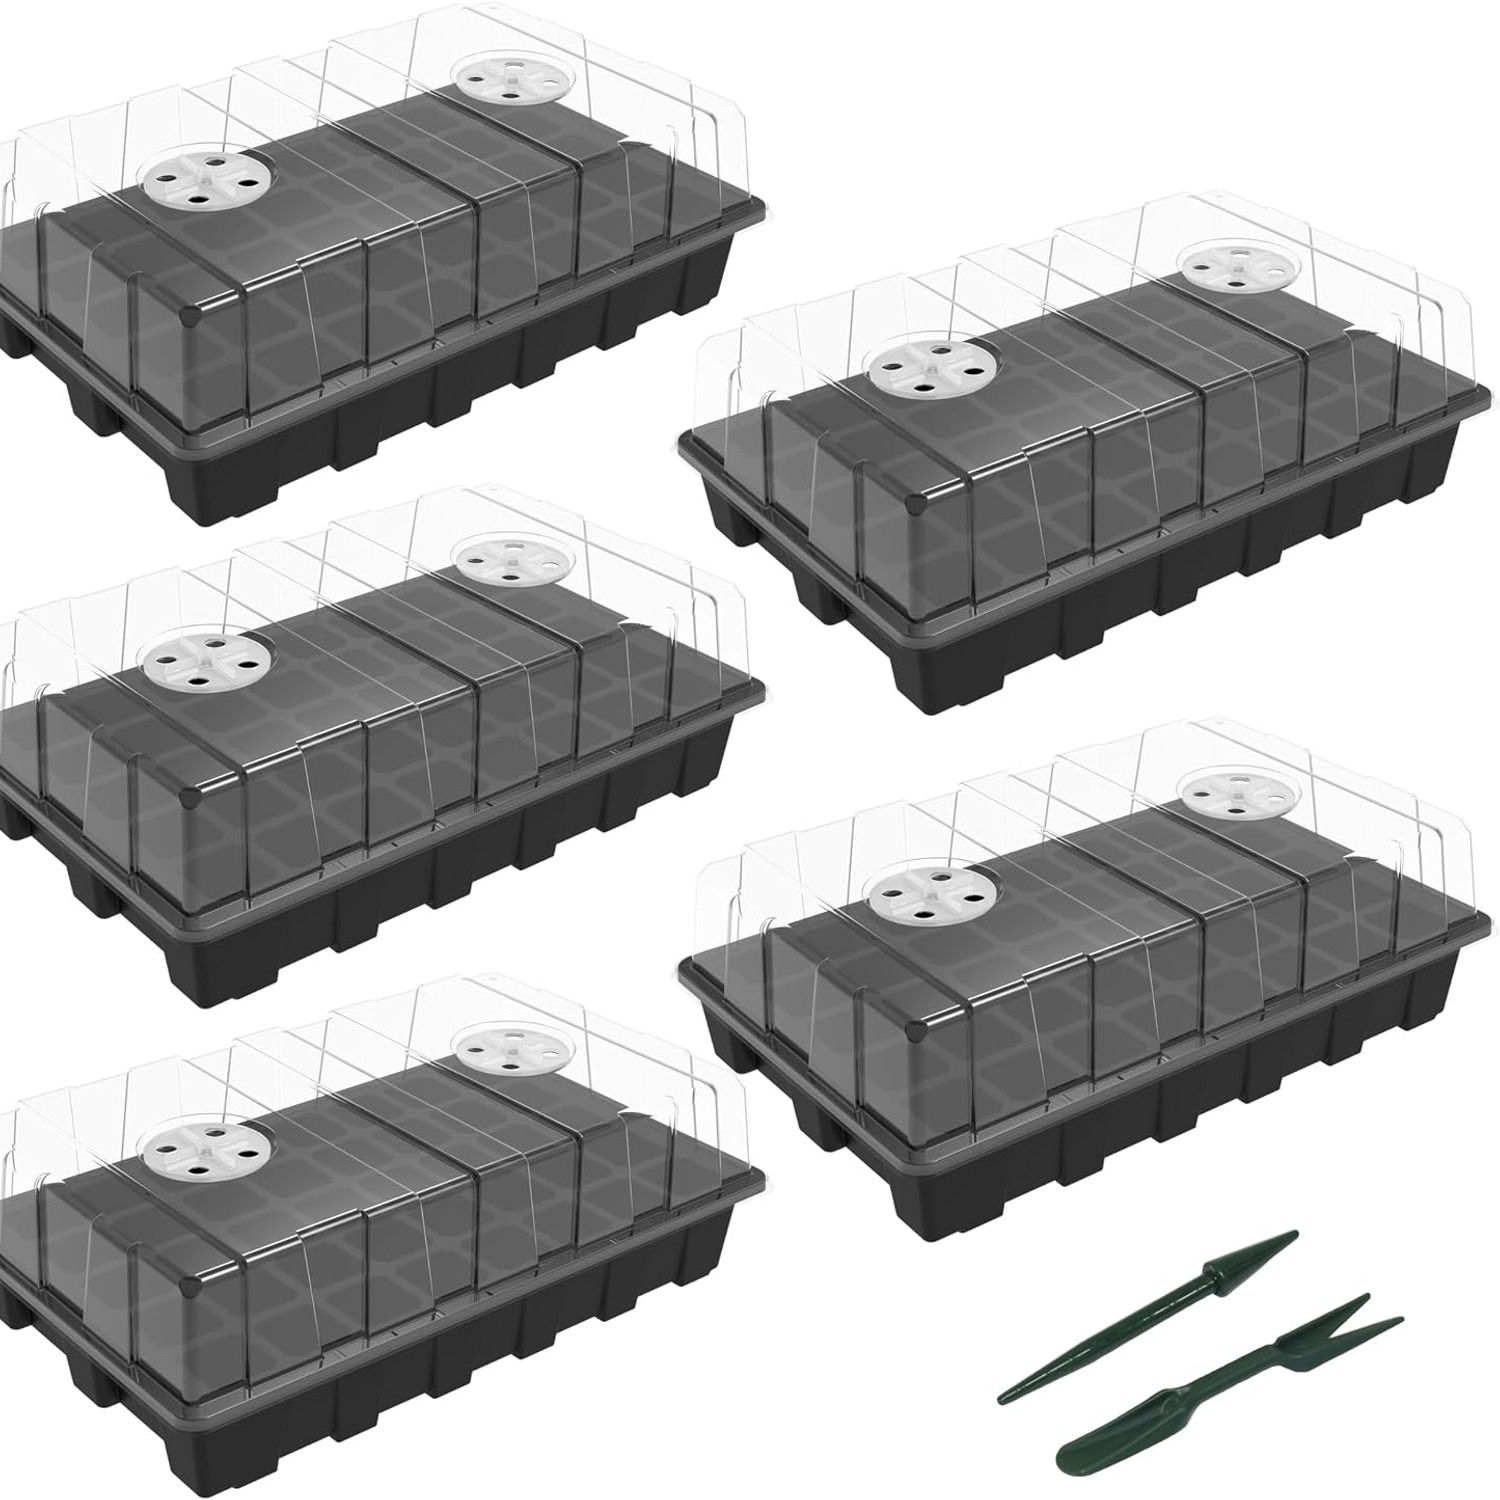
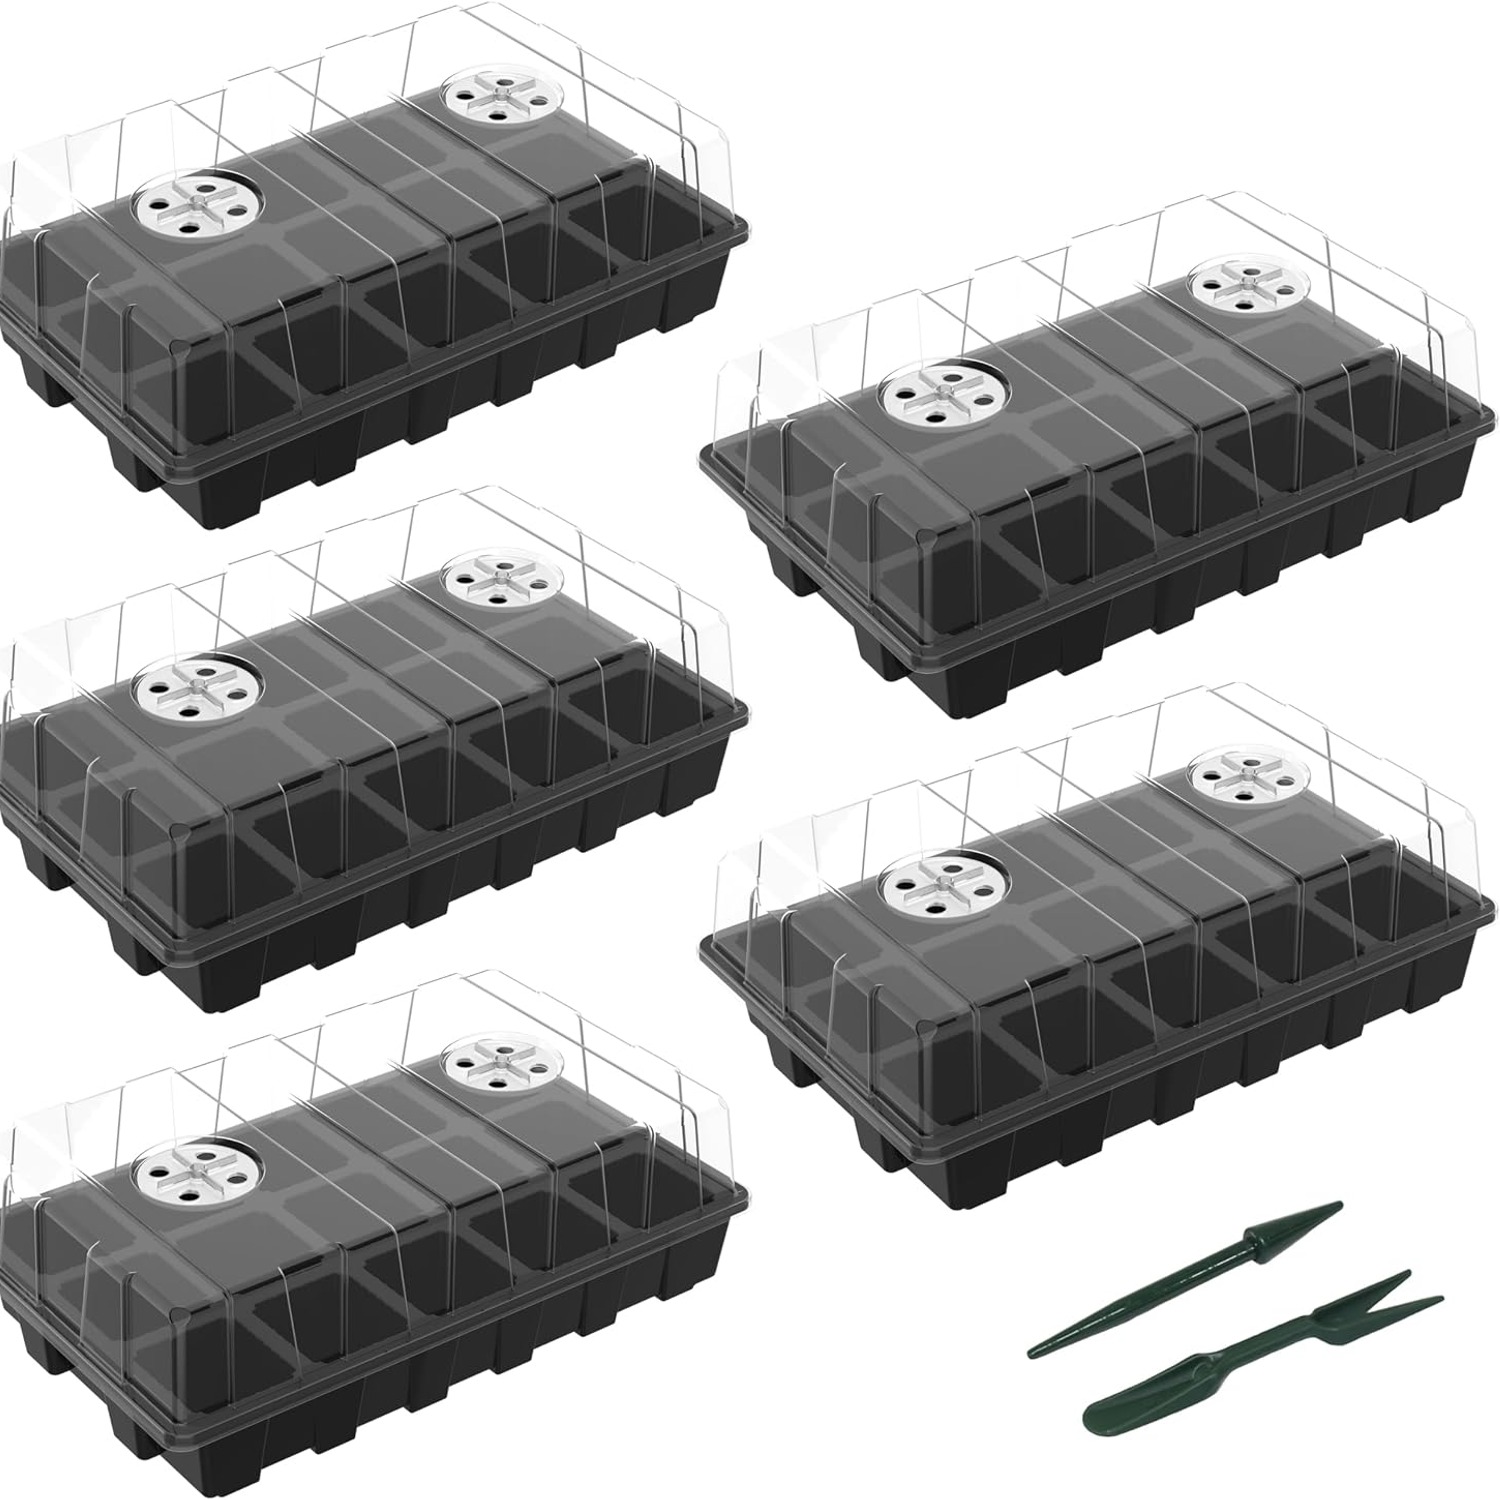
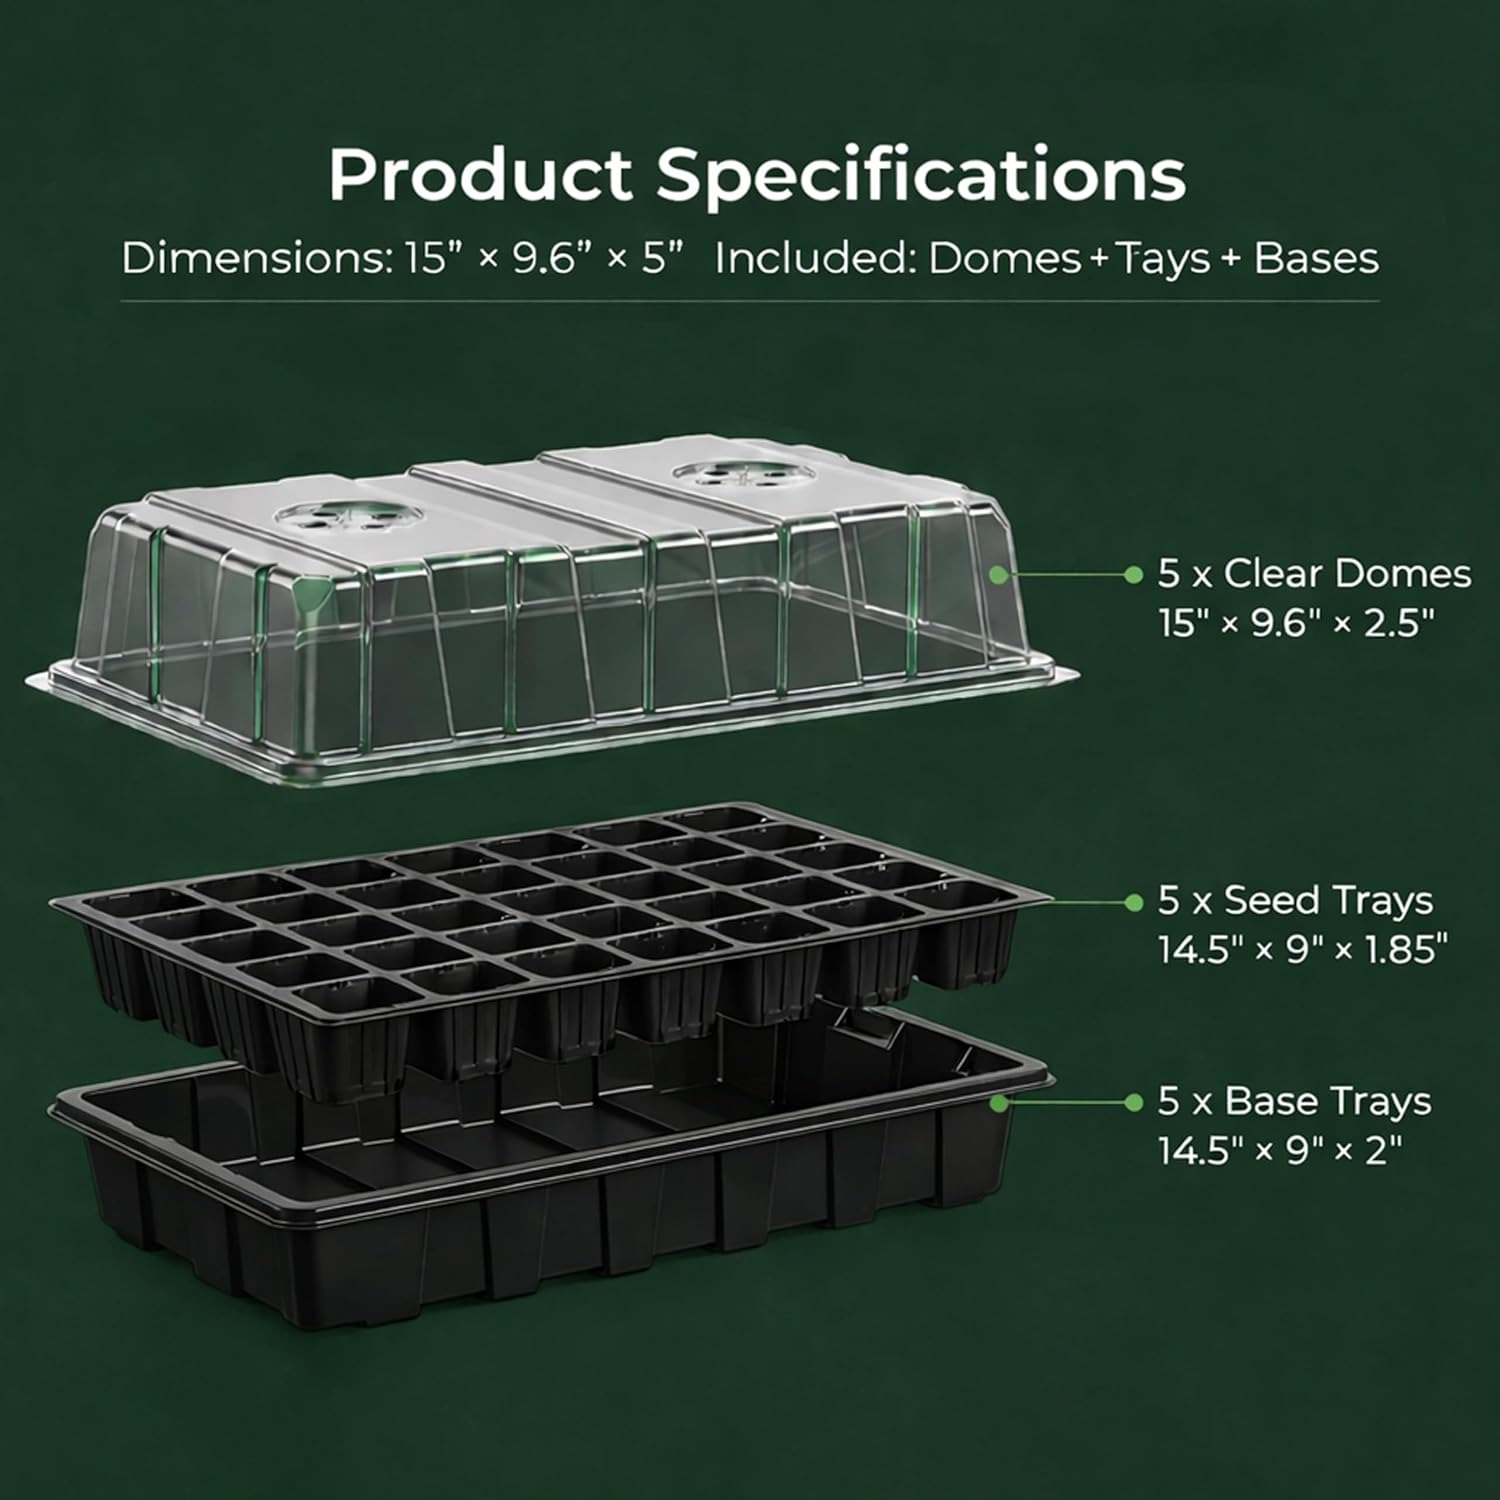
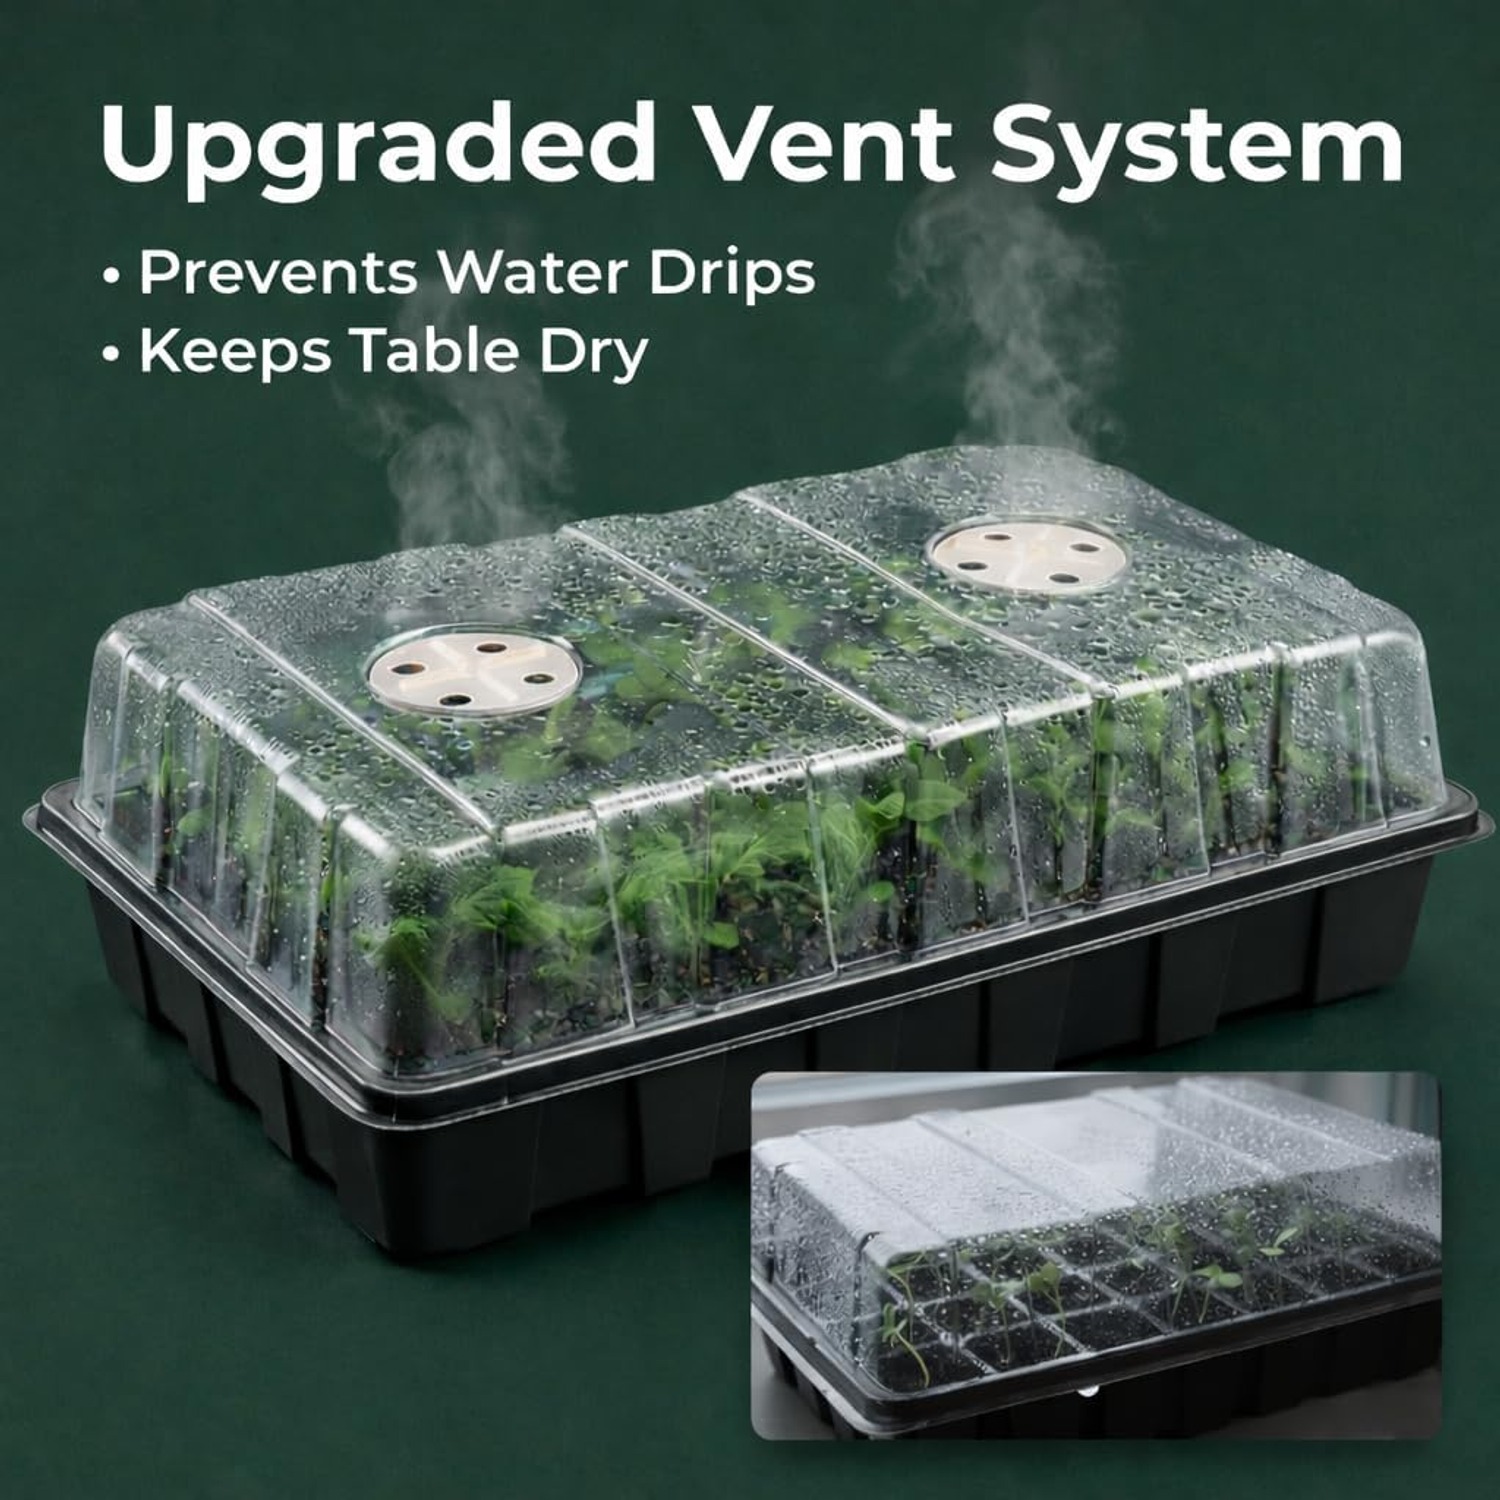
Five complete propagators. Each one is a 40-cell insert, a solid base tray that catches water, and a clear dome with two sliding vents on top. Five sets, 200 cells.
Each tray is 14.5 inches wide by 9 inches deep, and 1.85 inches tall assembled. That is the small propagator size that has been standard for years, which is handy because it fits common shelf units, windowsills and heat mats without measuring.
The material is plastic and the domes are clear. The brand is Gardzen and the model number is GST01-5. Country of origin is not listed in this record, so we are not going to guess at it.
How a dome and vent system works
Seeds germinate when three things line up: moisture, warmth and, for most species, a bit of time. The hardest one to hold steady at home is moisture. An uncovered tray on a sunny sill can go from damp to bone dry in a single afternoon, and once a swelling seed dries out mid-process, it usually dies.
The dome stops that. It traps evaporating water, which condenses on the inside and drips back down. Inside that little chamber the air stays near saturated and the surface of the mix stays damp for days instead of hours. You will see beads of water on the plastic, and that is exactly what you want at this stage.
Then the situation flips. Once shoots break the surface, the same wet, still air that helped germination starts working against you. Fungal spores love it. Damping off, where seedlings keel over at soil level with a pinched, brown stem, almost always traces back to too much moisture and too little airflow.
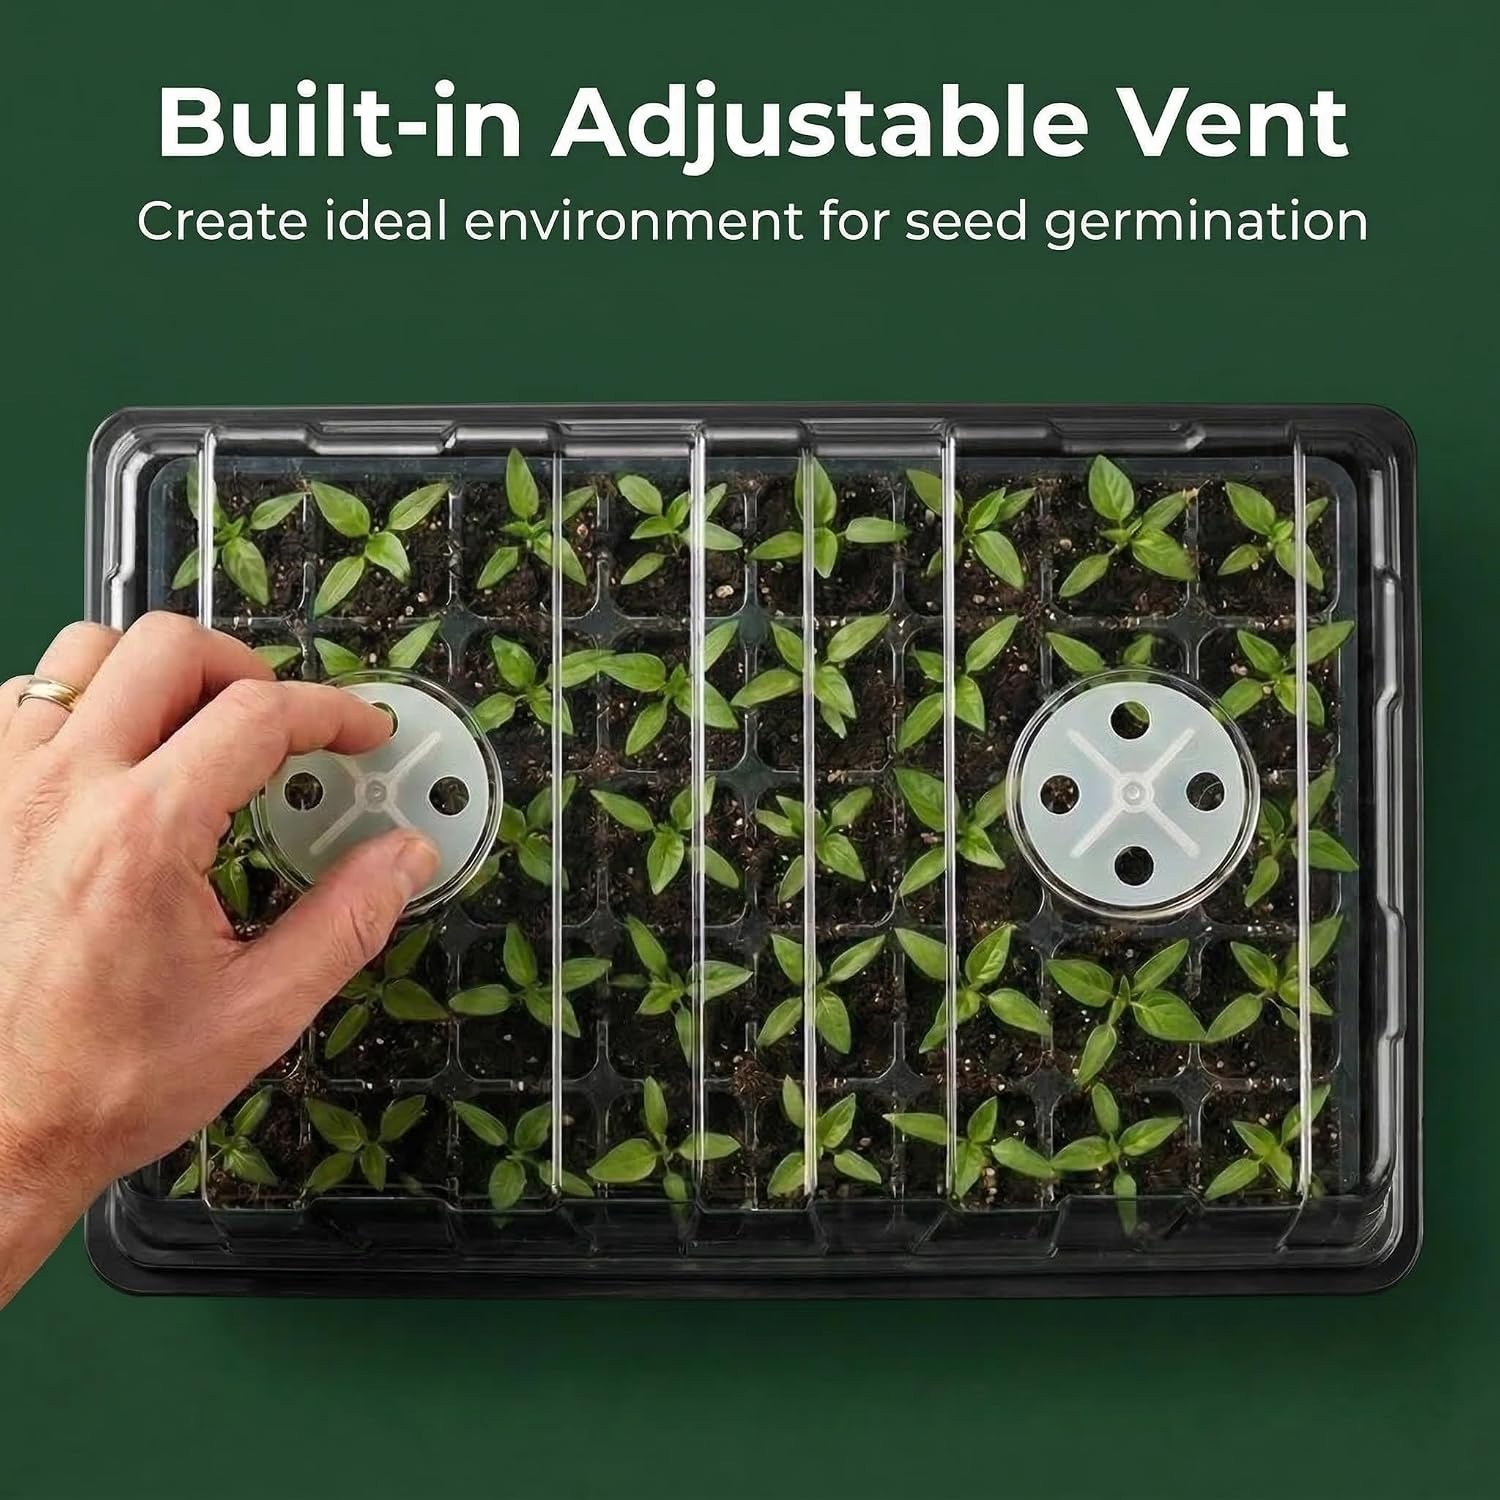
That is what the vents are for. Slide them open and warm, damp air escapes while the mix still holds some humidity. It is a dial, not a switch, which is better than the old method of propping the lid up with a pencil. A good germination dome should let you ease seedlings out of hothouse conditions over several days rather than shocking them with a sudden removal.
Drainage and watering
Every cell has a hole in the base. Water that runs through collects in the solid base tray underneath instead of on your furniture.
That gives you two watering options. From above, use a fine mist or a gentle rose so you do not blast seeds out of their cells. From below, pour a small amount into the base and let capillary action pull it up into the mix. Bottom watering is the better habit for small seeds, since nothing gets disturbed and the leaves stay dry.
Either way, tip out standing water after twenty minutes or so. Cells that sit in a puddle go anaerobic and roots suffocate. A best seedling propagator setup is one where the mix is consistently damp and never swampy.
Who this suits
If you grow a few tomato plants a year, 200 cells is more than you need, though having spare trays means you can sow in waves rather than all at once. Succession sowing lettuce every two weeks is much easier when you have five trays and are not waiting for one to free up.
If you run a bigger vegetable patch, an allotment or a small market garden, five trays is a sensible working number. You can have brassicas in one, flowers in another, herbs in a third, and a couple spare for cuttings.
It also suits anyone propagating from existing plants. Soft cuttings of rosemary, lavender, salvia and many houseplants root well in the humid air under a dome. Dip, stick, cover, wait. For that job, a tray like this is cheaper and more reliable than individual pots inside plastic bags.
Choosing cell size and depth
Cell size is a trade-off. Small cells mean more plants per tray but more frequent watering and a shorter window before roots circle. Bigger cells mean fewer plants and slower drying.
Forty cells in a 14.5 by 9 inch tray lands in the useful middle ground. Roomy enough for the seedling to develop a decent root plug before transplant, tight enough that you are not wasting mix.
These are shallow trays, which is correct for their job. They are not pots. The plan is always to sow, germinate, grow for a few weeks, then move each seedling into a larger container or straight into the ground. If you are trying to take a tomato all the way to fruiting in a cell tray, you have skipped a step.
Getting better germination rates
A few habits make the biggest difference.
Use a proper seed mix, not garden soil. Seed mix is fine, light and low in nutrients, which is what young roots want. Garden soil compacts, holds disease and can crust over the surface.
Moisten the mix before you fill the cells. Dry mix repels water and you end up with wet pockets and dry pockets. Mix water in by hand until it clumps when squeezed but does not drip.
Sow at the depth on the packet. A rough guide is twice the width of the seed. Some seeds need light to germinate and sit on the surface, so always read the back of the packet.
Label as you go. You will not remember which block is kale and which is cabbage once they are up. Pencil on a plastic label survives the damp better than ink on paper.
Care and getting more seasons out of them
Plastic trays last for years if you treat them reasonably. The main enemies are heat, sunlight and rough handling.
Between crops, knock out the old mix, rinse with warm water, then wash with mild dish soap. If you have had a disease outbreak, follow with a diluted household disinfectant and a thorough rinse. Let everything dry fully before you stack it, because trapped damp encourages mold on the plastic itself.
Keep them out of the dishwasher. The heat can warp thin trays and cloud the domes. Store them flat and out of direct sun, since prolonged UV makes plastic brittle and prone to cracking.
The short version
This is five small propagators sold together, giving 200 cells across five trays with bases and vented domes. The domes hold the humidity seeds need to germinate, the vents let you release it before seedlings get soft, and the drainage holes keep roots out of standing water.
It suits anyone who wants to raise their own plants rather than buy them in, whether that is a windowsill of herbs or a full vegetable plot. Pair it with a decent seed mix, good light and the discipline to open the vents at the right moment, and your germination rates will climb noticeably.
Rinse it, dry it, stack it, and it will be waiting for you next spring.