
The complete guide
How to Choose and Use T5 Grow Lights for Indoor Plants
The problem nobody mentions when they sell you a houseplant
A plant tag will tell you "bright indirect light" as though that is a simple instruction. Then you put the pot on a shelf that looks perfectly bright to you, and six weeks later the stems are long, the leaves are small, and the whole thing leans toward the window like it is trying to escape.
The issue is that human eyes are brilliant at adapting. A room that feels well lit to us can be delivering a tiny fraction of what the plant would get outdoors under an open sky. Add short winter days, a north-facing window, or an apartment with a building opposite, and the gap widens. Seed trays suffer first. Seedlings stretch for light within days, and a stretched seedling never really recovers its sturdiness.
A grow light closes that gap. Not by blasting the room, but by putting a steady, usable amount of light right above the leaves for a predictable number of hours each day.
What a T5 bar actually does
T5 originally described the diameter of a fluorescent tube. The name stuck for the slim bar shape, and modern versions like this one use LEDs inside an aluminum housing instead of gas and phosphor. The result is a low-profile strip you can tuck under a shelf without losing head height.
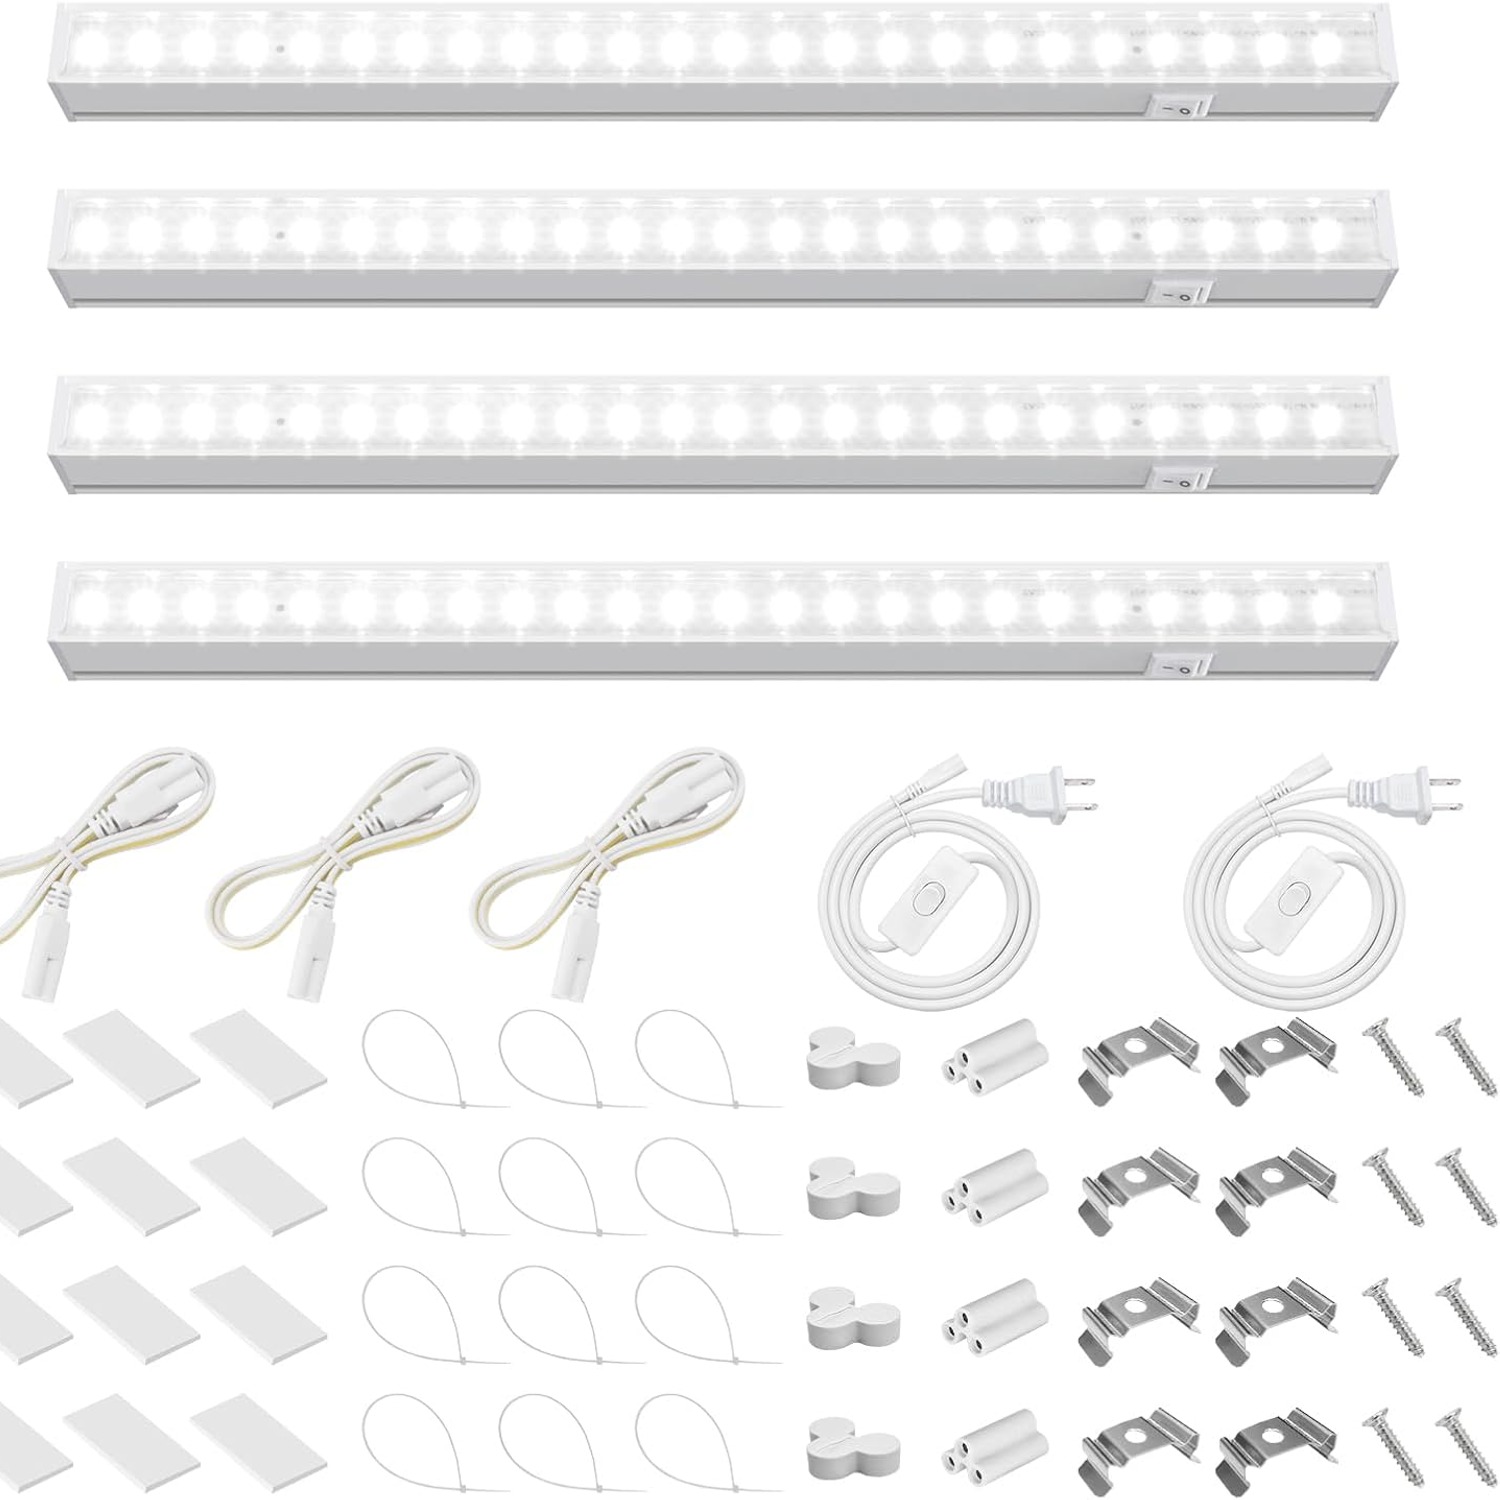
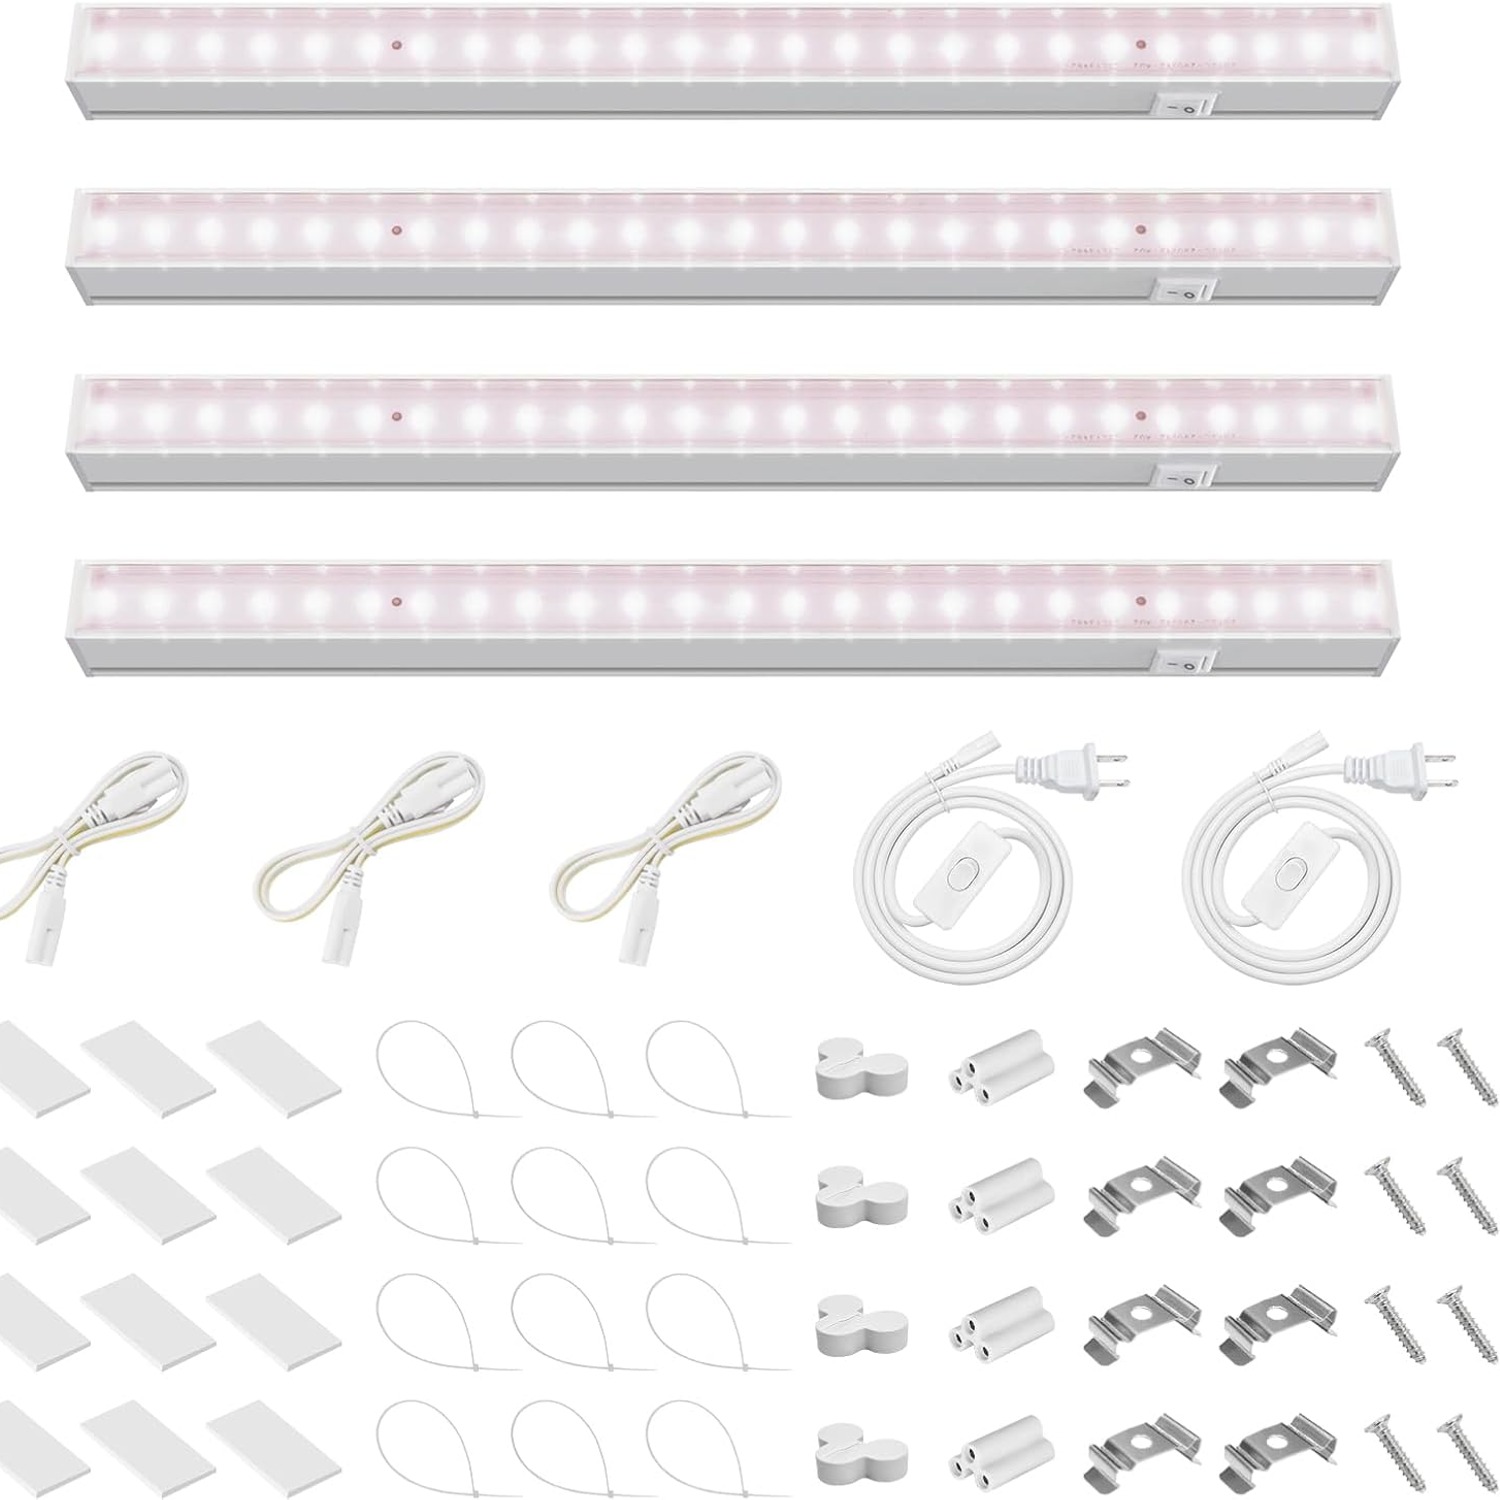
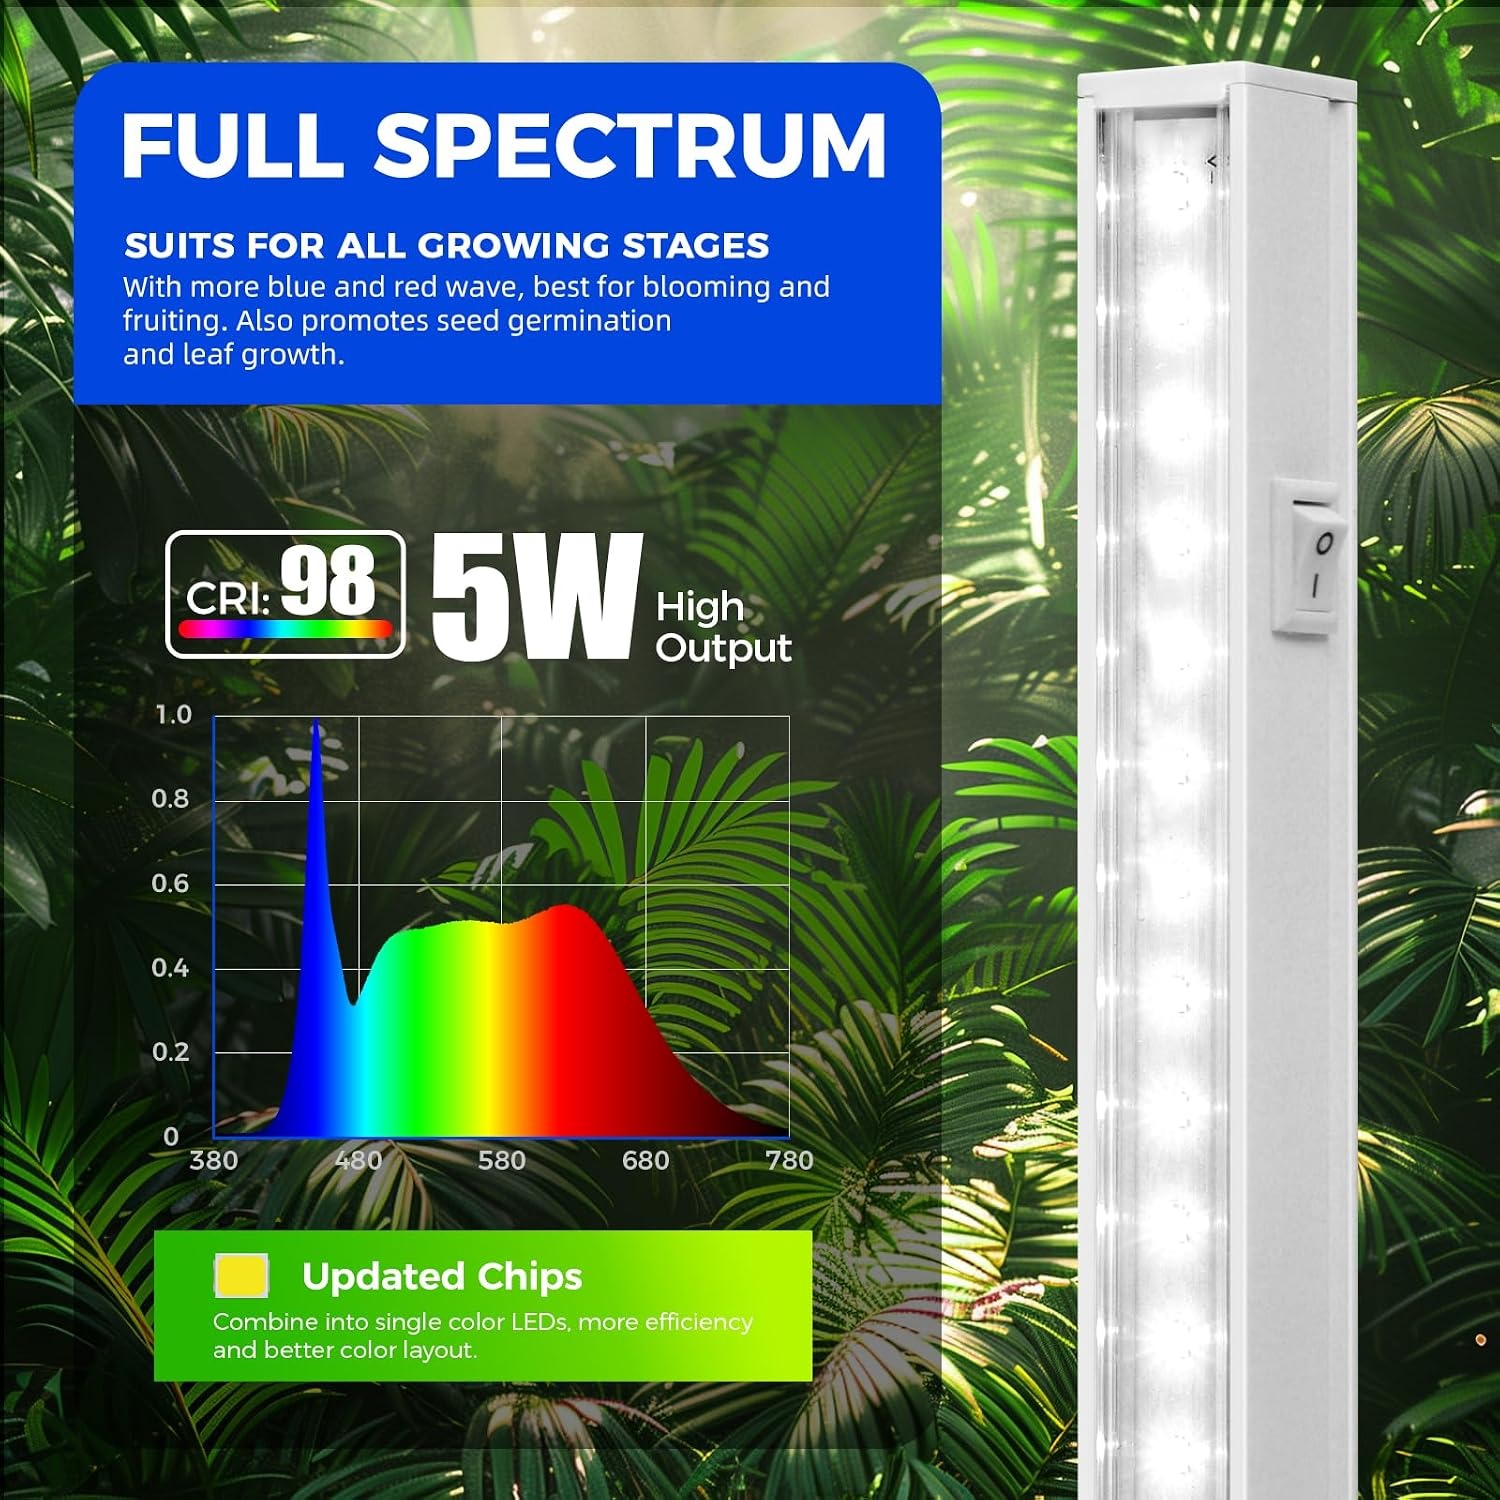
This particular set gives you four separate 1ft bars rather than one long fixture. Each runs at 5 watts, with 96 LEDs across the set, and puts out a 5000K full spectrum white.
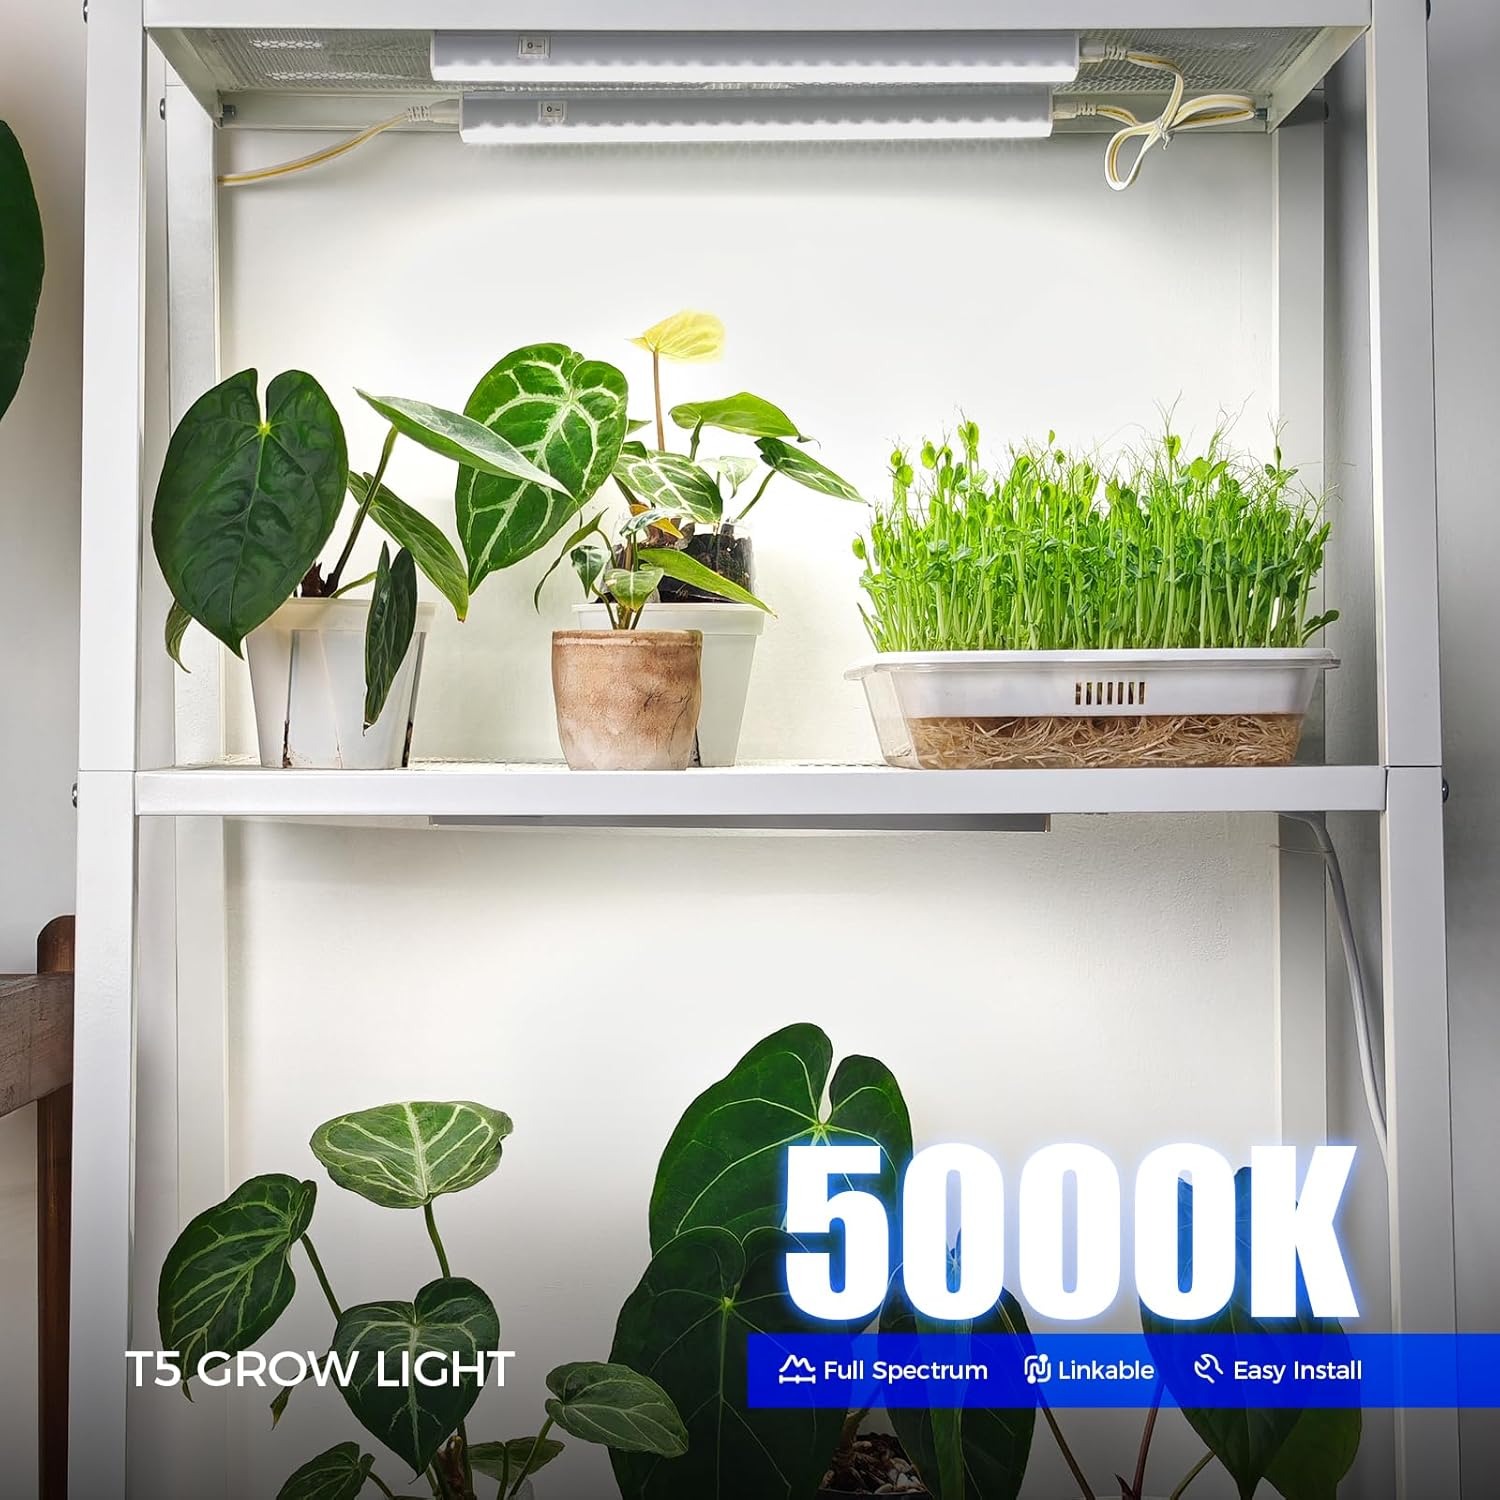
That color choice matters more than people expect. Plenty of plant lights throw a purple-pink glow because they focus hard on red and blue wavelengths. It works, but it is unpleasant to sit beside, and it makes the plants, your walls and your dinner all look slightly wrong. A 5000K white looks like bright daylight. You can run it in a kitchen, a home office or a living room shelf without the room feeling like a laboratory.
Why four short bars beat one long one
This is the quiet advantage of the set. One long fixture commits you to one layout. Four short ones let you change your mind.
Put all four across a single shelf and you get dense coverage for seed trays. Split them two and two, and you can light a propagator downstairs and a row of pots upstairs. Use just one under a kitchen cabinet above a pot of basil, and keep the rest in the box for spring.
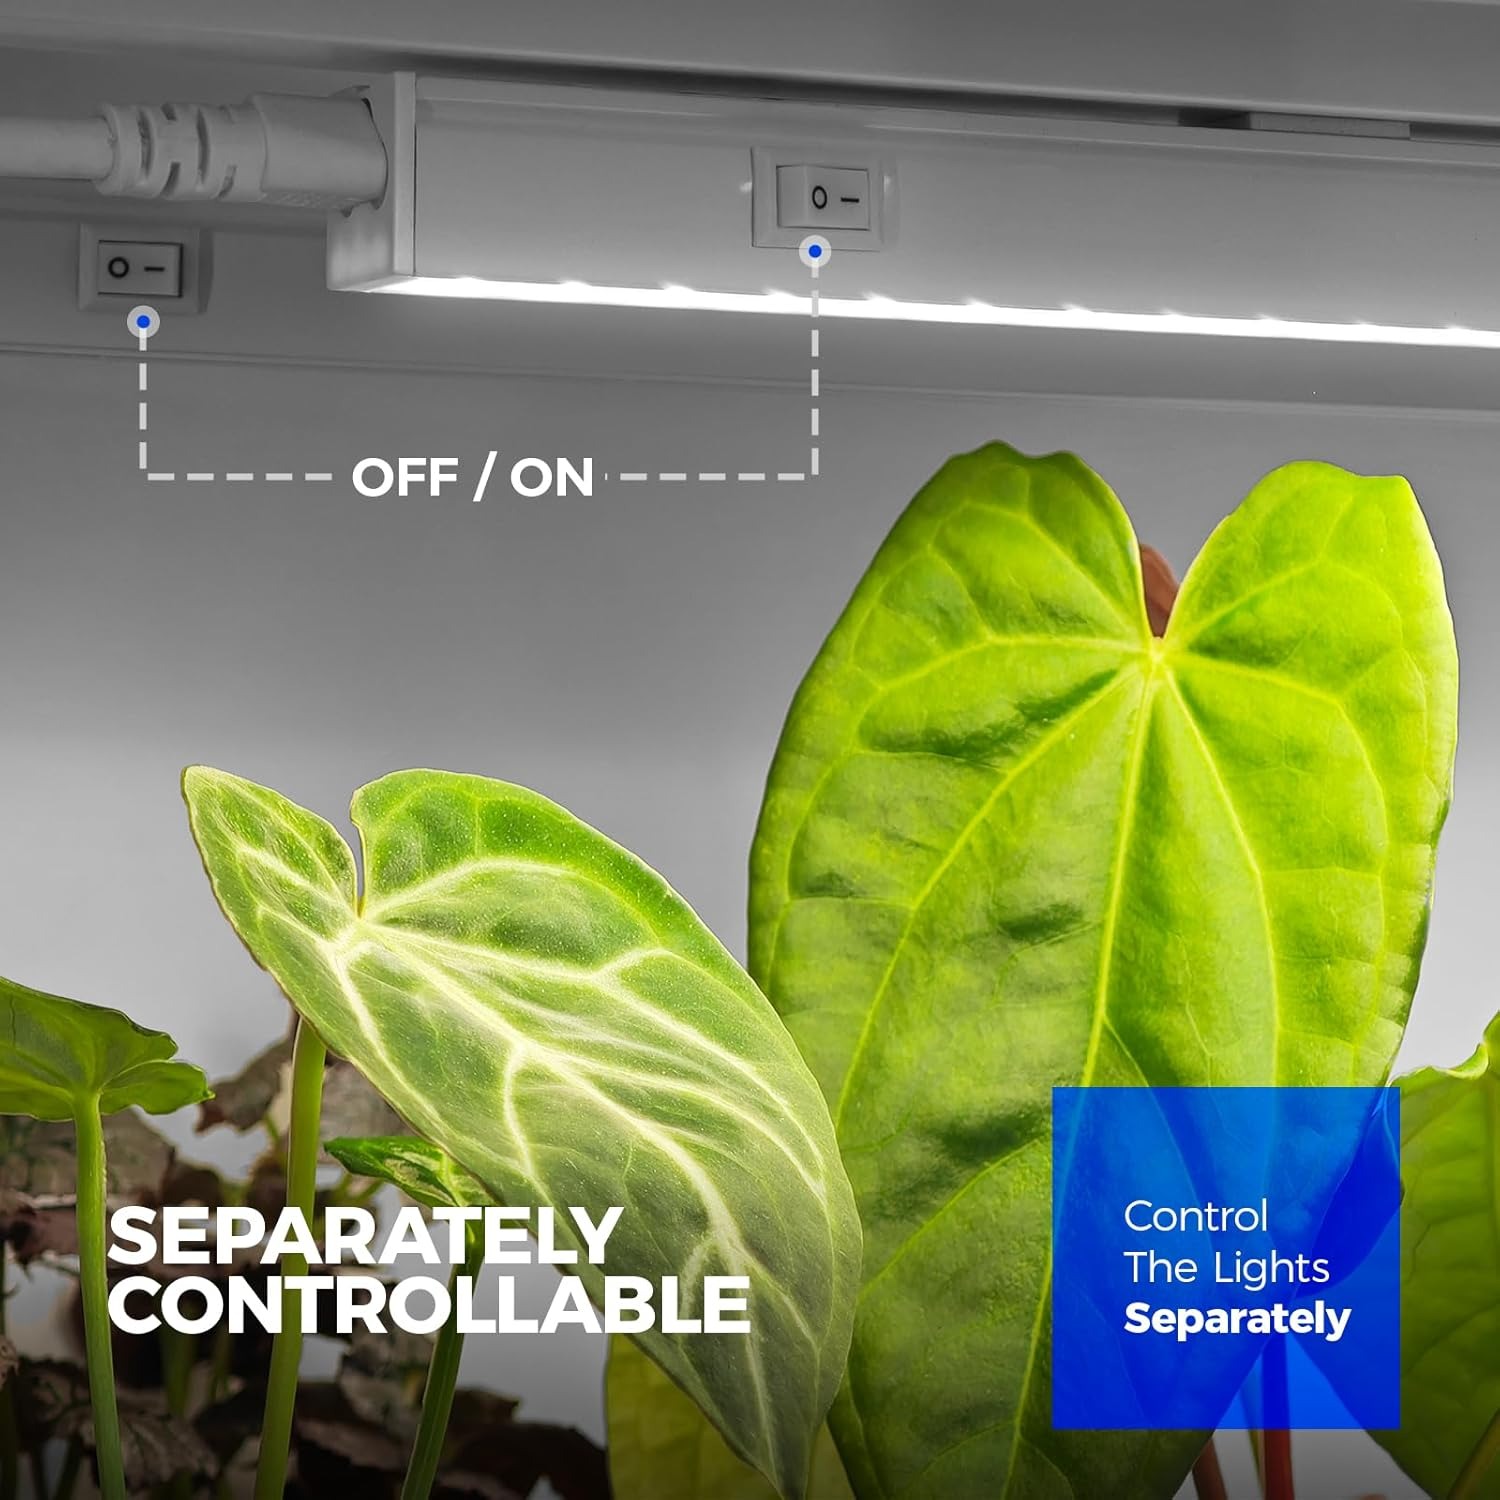
Each bar also carries its own push-button switch on the housing. So if the seedlings on the top tier need fourteen hours but the mature plants below are happy with ten, you simply switch one off. No unplugging, no splitting the run.
They link, too. Up to 16 fixtures can run in series using the supplied connecting cords and small connectors, which means a multi-tier rack can feed from a single outlet. That keeps cable clutter down, which is usually the thing that makes a plant shelf look messy.
Who this set suits
It suits small-scale indoor growing. Think seed starting in late winter, herbs on a counter, a shelf of pothos and philodendron in a dim corner, a few succulents fighting for light on a desk, or a propagation station full of cuttings in water.
It is less suited to large flowering crops or a whole-room setup on its own. Four 1ft bars at 5 watts each cover a modest area. You can expand by linking more fixtures, and plenty of people do, but if you are lighting a tall tent full of mature plants you want a bigger fixture from the start.
If you have been looking at a shelf grow light for a bookcase or an IKEA-style plant stand, this is comfortably in the right class.
Working out how many you need
Start with the area, not the plant count. Measure the shelf and decide how wide a strip of light you want.
A single 1ft bar gives a narrow pool of light. Good for a couple of small pots, a propagation jar row, or one tray edge. Two bars spaced a few inches apart cover a standard shelf width reasonably. Four bars across one shelf give the strongest, most even coverage, which is what you want for seed trays where every cell should get the same treatment.
Light-hungry plants change the maths. Succulents and cacti want far more than a fern or a peace lily. If you are growing a grow light for succulents setup, assume you need more bars packed closer and longer run times. Low-light foliage plants are far more forgiving.
The honest approach is to start with what you have, watch the plants for two weeks, and add bars where growth looks stretched.
Getting the height right
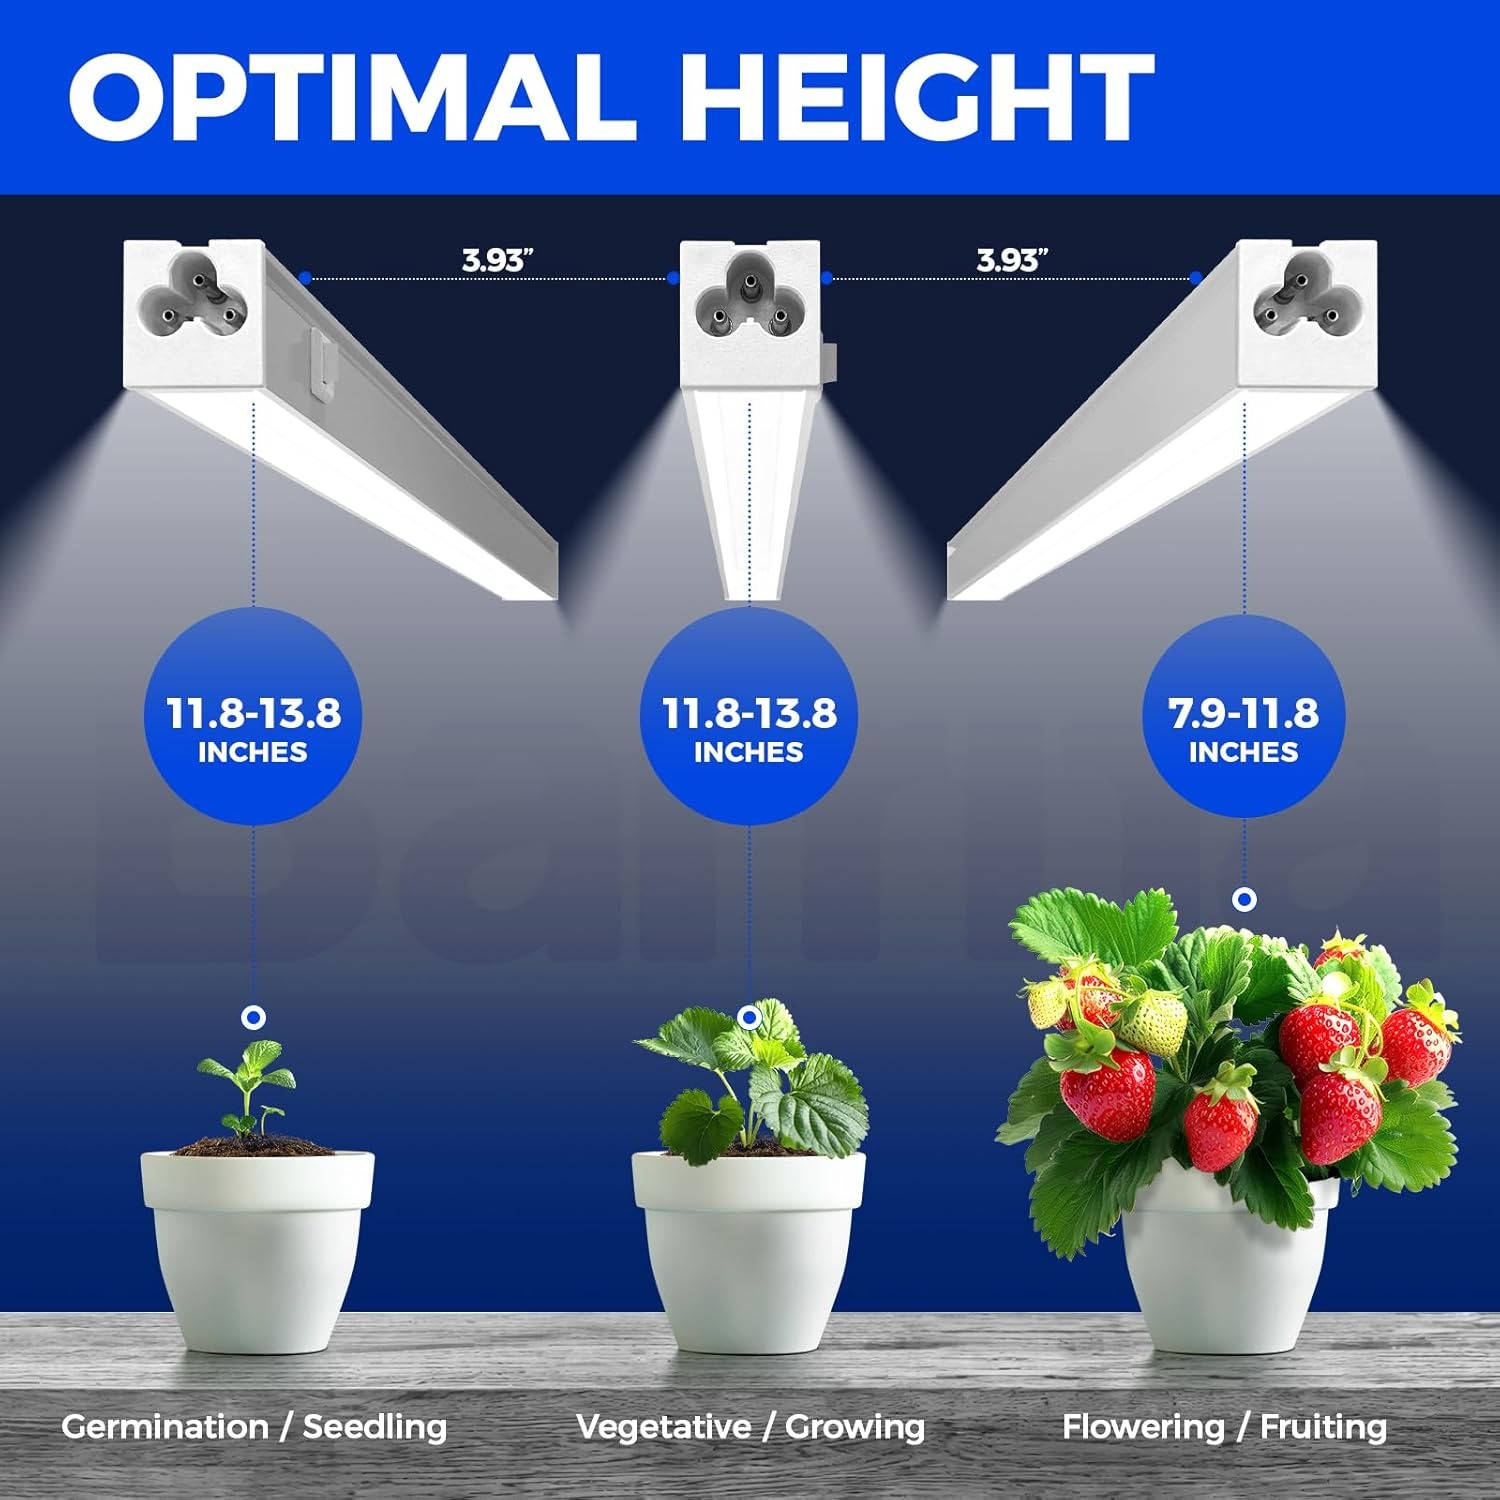
Distance does most of the work. A light that is too far away may as well not be on, and one that is too close can bleach or scorch leaves.
For seedlings under a low-wattage bar, a few inches above the canopy is typical. Keep that gap as they grow by raising the fixture or lowering the tray. For mature houseplants, a bit more distance is fine because you are topping up rather than driving fast growth.
Read the plants. Stretching, pale color and wide spaces between leaves mean not enough light. Crisped tips, bleaching or leaves curling away mean too much, or too close. Move in small steps and give the plant a week to respond before adjusting again.
Run times and timers
Most people land somewhere between 12 and 16 hours a day for seedlings and leafy growth, and 10 to 12 for established houseplants. Plants need darkness as well as light, so running a fixture constantly is not a shortcut to faster growth.
A cheap plug-in timer makes all of this automatic and consistent. Consistency beats intensity for most indoor growing. A steady 12 hours every day does more good than an erratic pattern of long and short days.
Installing without drama
The set includes double-sided tape pads, clips and cable ties, which covers most situations.
Tape suits smooth, clean shelf undersides. Wipe the surface, let it dry fully, then press firmly and give the adhesive time to grab. Clips suit timber shelving where you want something mechanical. Cable ties are the neat answer for wire racks, and they let you slide the bar along later.
A few things to avoid. These fixtures are non-magnetic, so they will not hold on metal by themselves. Do not mount on uncured plaster, or on dusty, greasy or rough surfaces, because the adhesive will fail and the bar will drop onto your plants. Leave a little air around the housing rather than sealing it in a tight cabinet.
Plan your cable run before you stick anything down. Decide where the outlet is, which end each connector faces, and where the slack will sit.
Looking after them
LED fixtures ask very little. The one job that actually matters is dust.
A film of dust on the lens cuts light output quietly, and because it happens slowly you never notice. Unplug the bars every few weeks, wipe the lens and housing with a dry or barely damp microfibre cloth, and plug them back in. That is the whole routine.
Keep water away from the switch and connectors. If you water plants above a fixture, be deliberate about it, or move the pot to a sink. Do not modify or cut the cords.
The set carries a 2 year manufacturer warranty, so keep your order confirmation somewhere you can find it.
The short version
If your indoor plants are stretching, thinning or simply sulking through winter, light is the first thing to fix. These T5 grow lights give you four independent 1ft bars in a clean 5000K white that will not make your living room look odd, with individual switches, series linking up to 16 fixtures, and enough clips, tape and ties in the box to get going the same day.
Start with two bars per shelf, keep them close to the canopy, put them on a timer for 12 to 14 hours, and wipe the lenses now and then. That simple setup turns a dim corner into a spot where seedlings stay stocky and herbs keep producing long after the days get short.